Xiaomi, as we know it, has various brands under it that focus on specific areas. One of them is Xiaomi Smart Life, the original Mijia, which focuses, among other things, on photo accessories.
We got Xiaomi Mijia Gimbal with 3-axis stabilization and tested it in detail. It is simple and offers everything you expect from a stabilizer. At the beginning, we can safely say that it has no competition in its price category, as it ranks among the cheapest gimbals on the market.
Where to buy?
The stabilizer is available through the Banggood online e-shop. This shop offers fast delivery from a European warehouse, thanks to which you can have the package at home in 7-10 days. No additional fees are charged.
Xiaomi Mijia Gimbal SJYT01FM


Express delivery from a Czech warehouse without duties and VAT.
This product will be delivered to you expressly from your local Czech warehouse. Delivery from Czech Republic usually takes 7-10 days and delivers courier. No extra charges, no customs duties or VAT.
Modest packaging
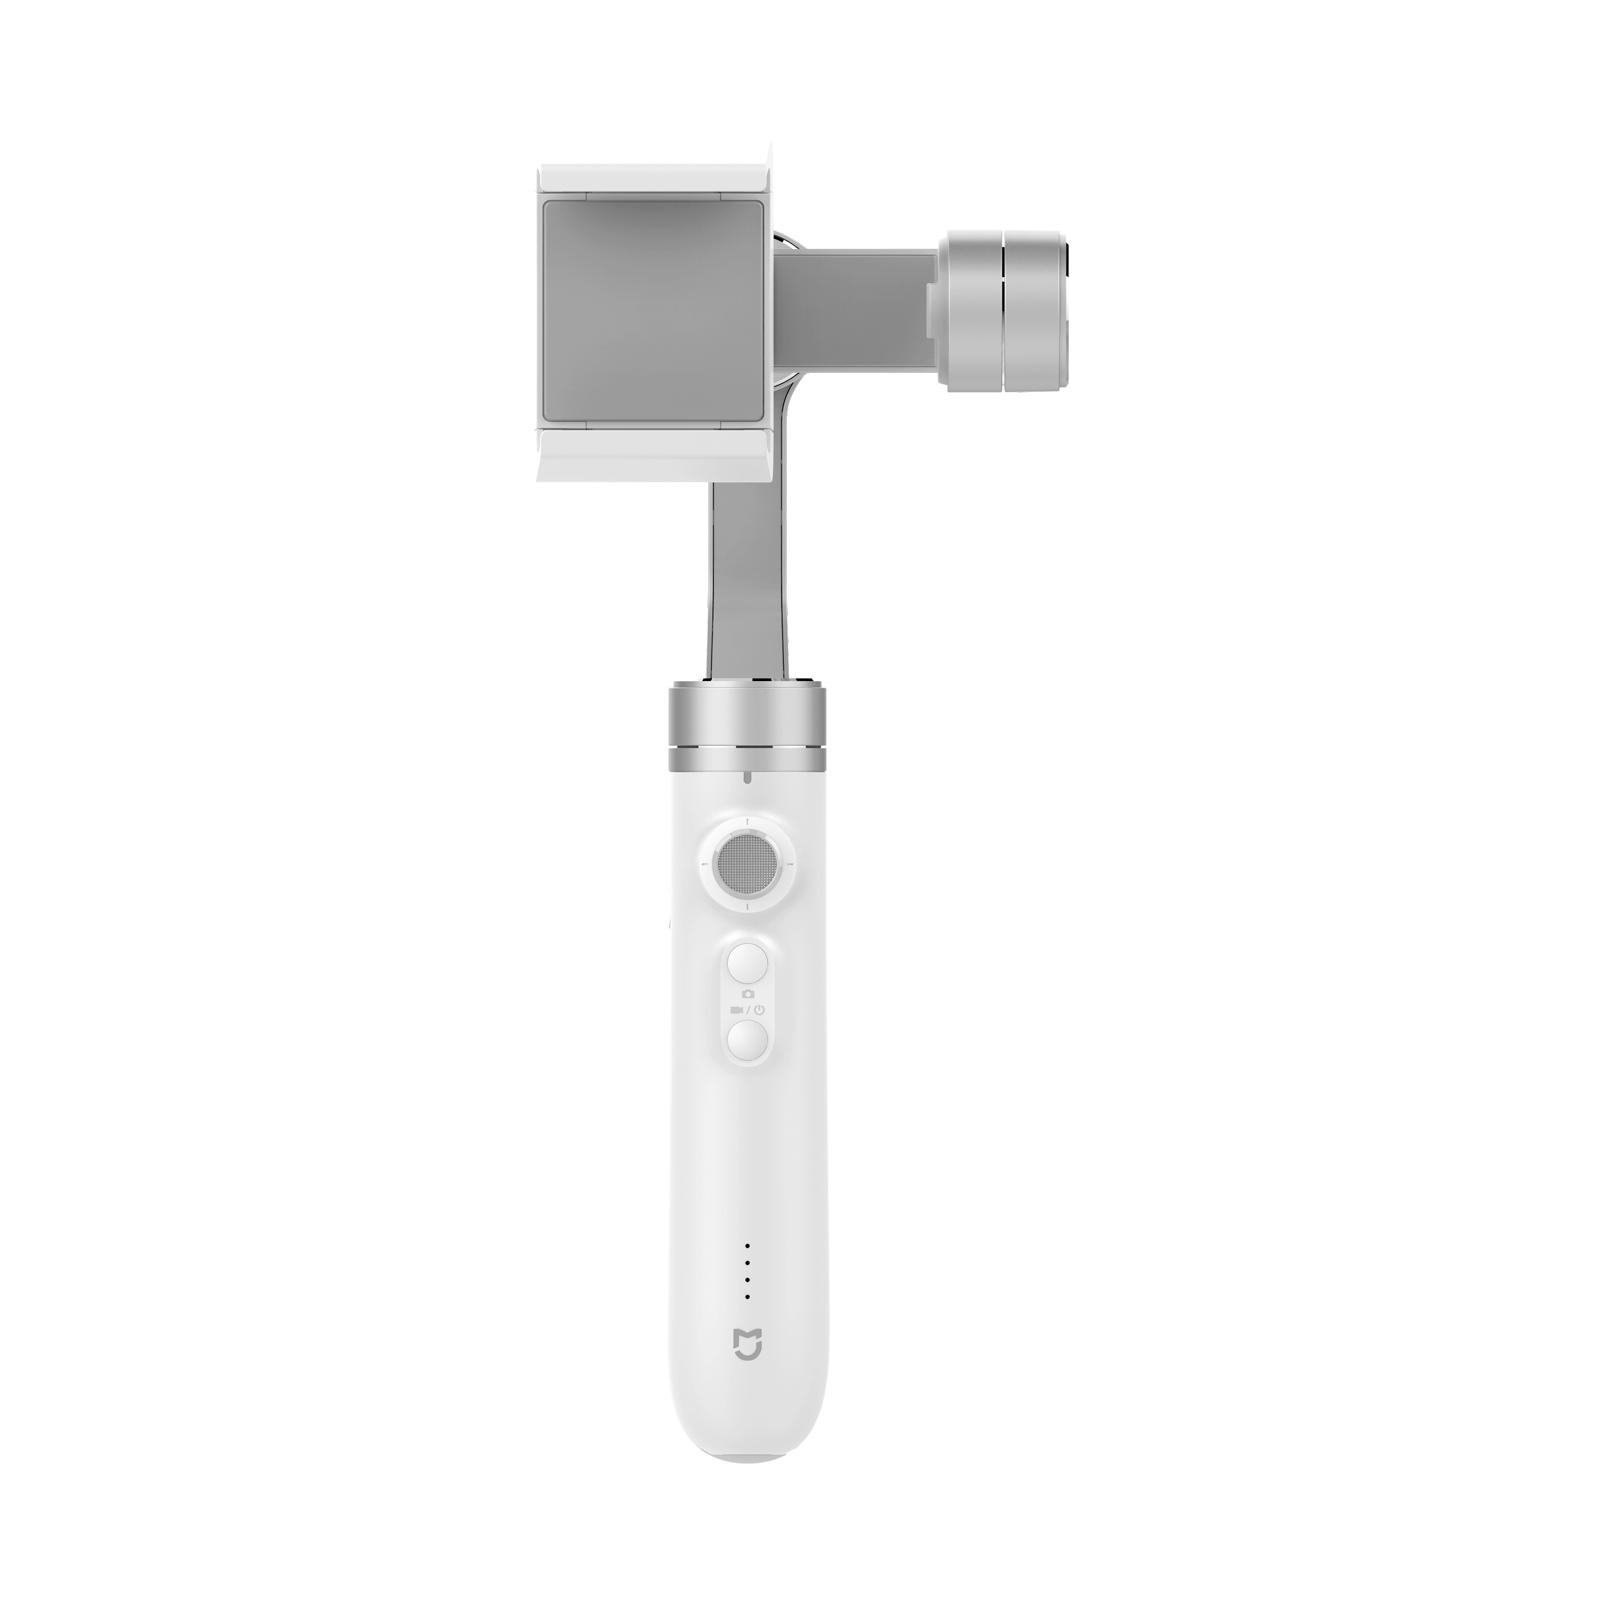
Xiaomi Mijia Gimbal you come packed in an elegant white box. As you will see, the whole product is tuned to a decent white color.
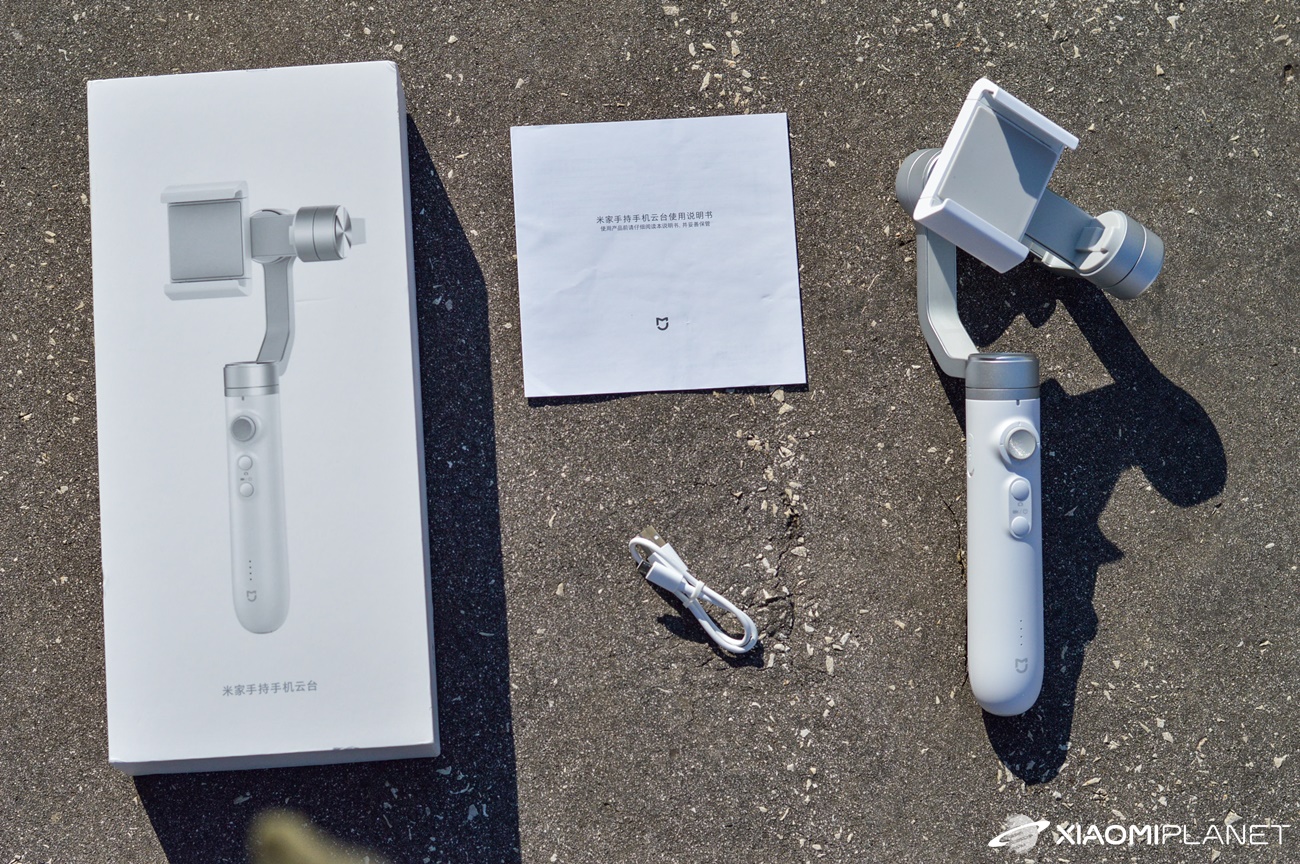
You will find it in the package itself stabilizer, microUSB cable for charging and manual for use in the Chinese language. All content, including the box, gives a very good, orderly and premium impression.
You will find complete instructions in English in PDF at this link.
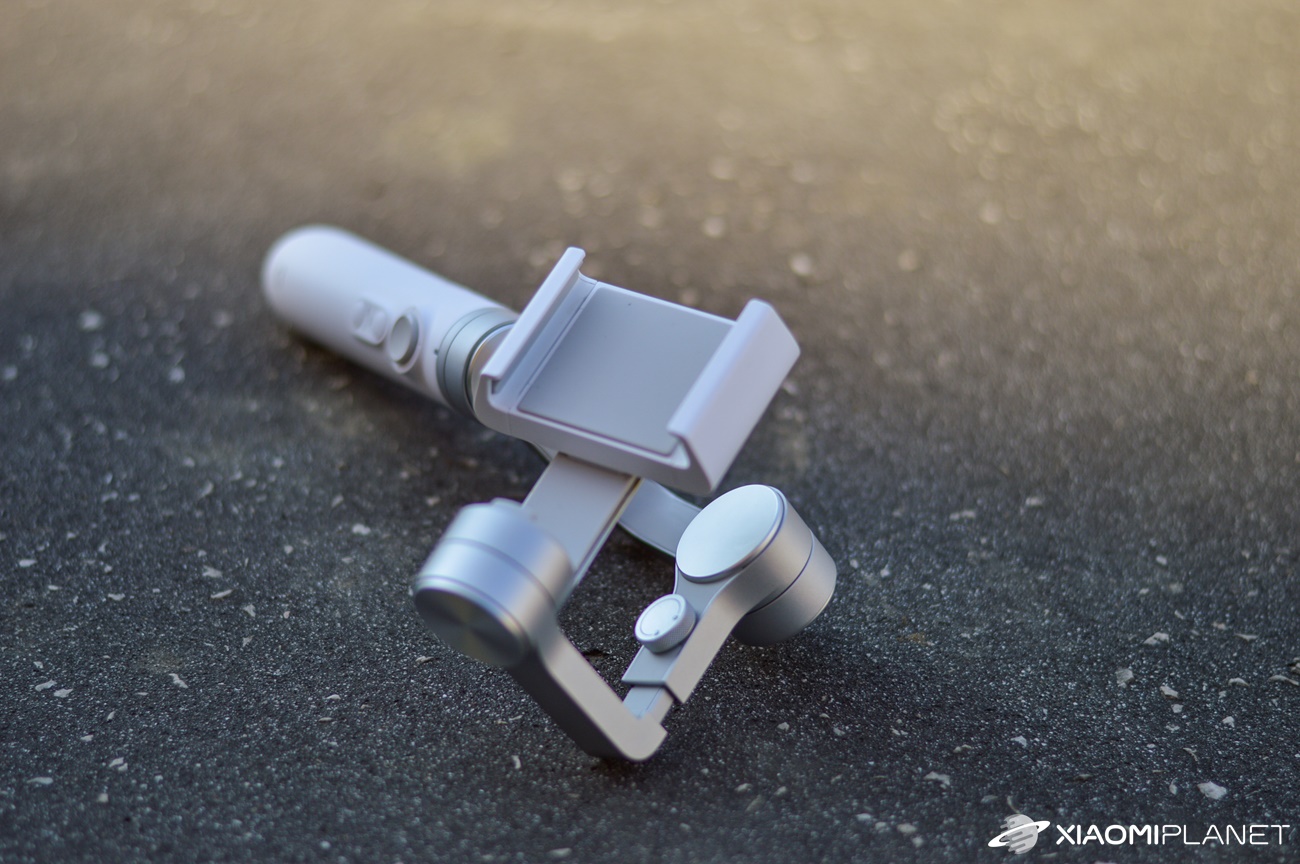
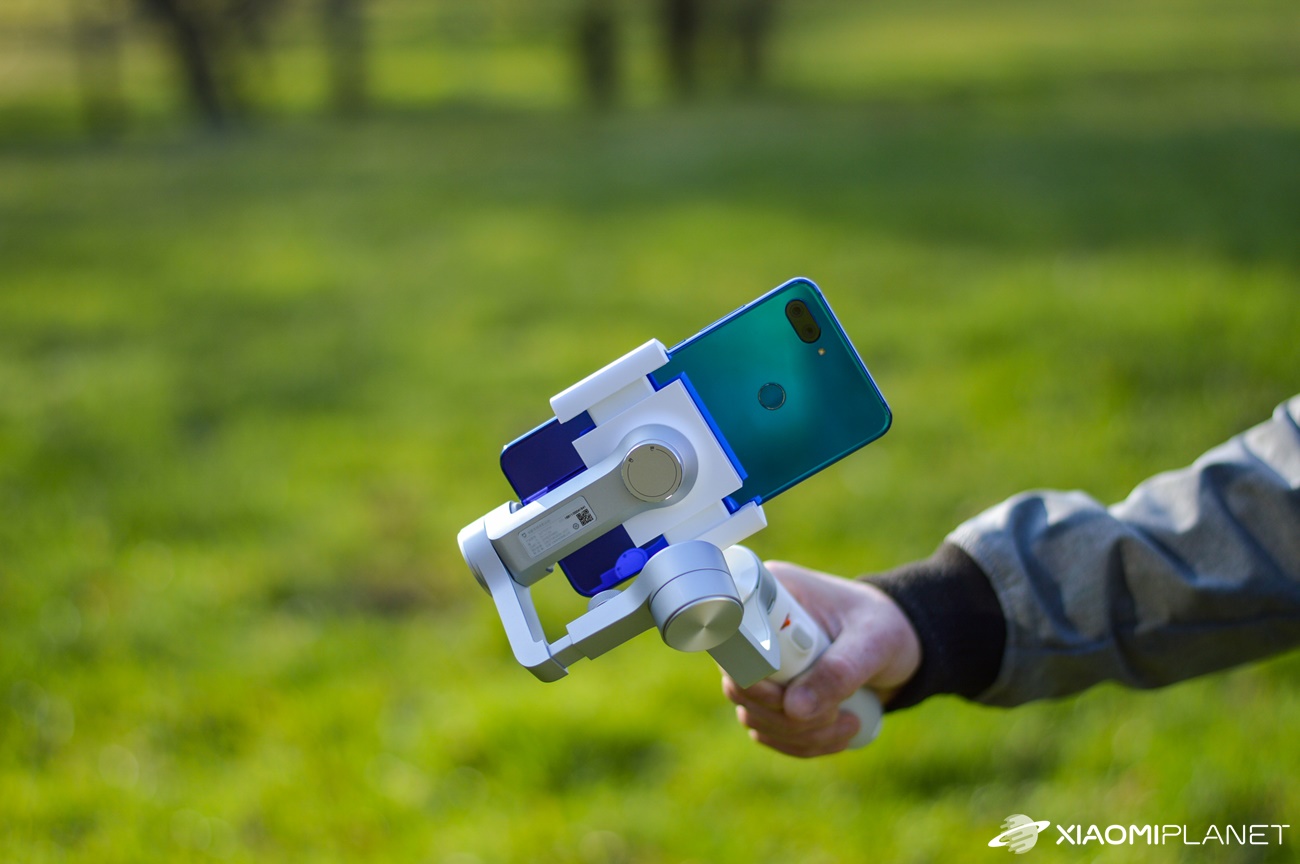
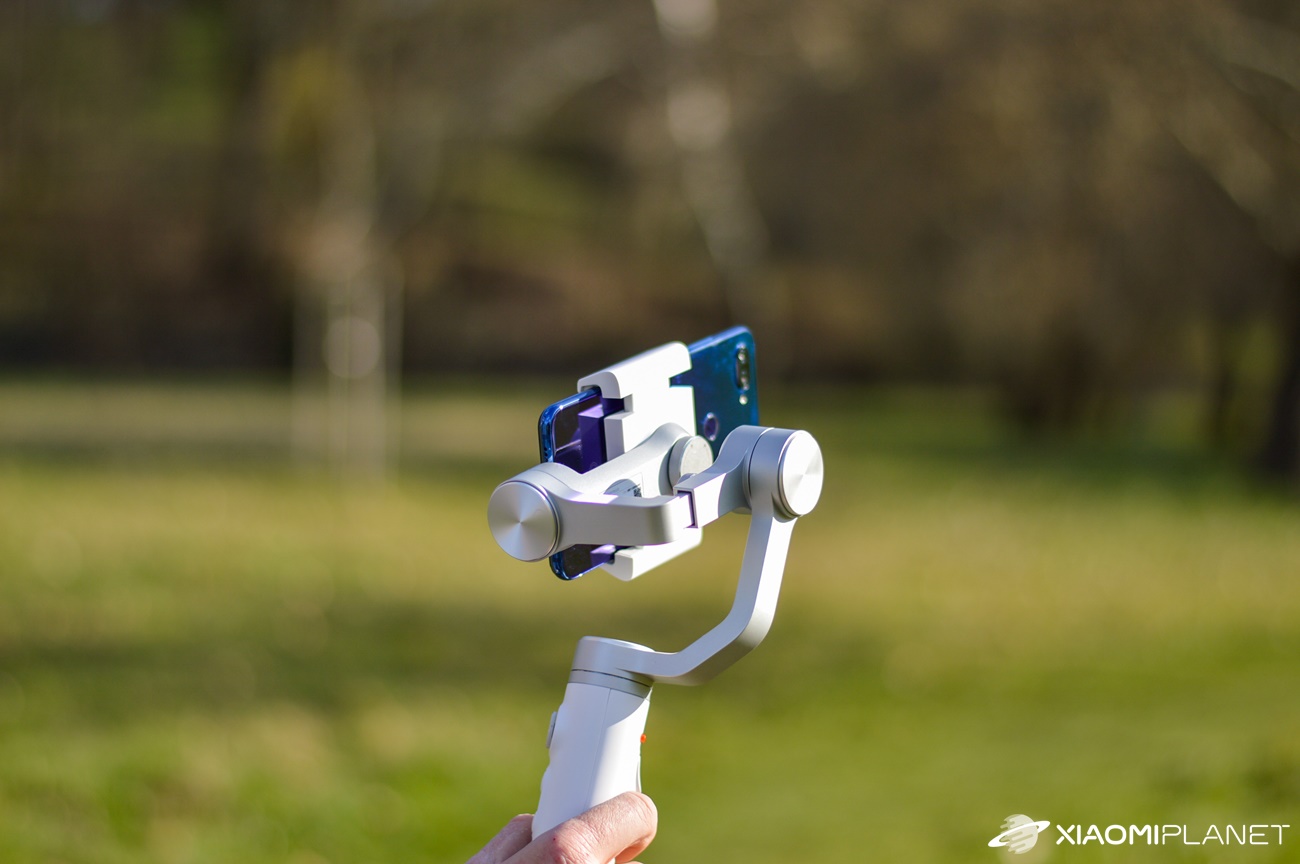
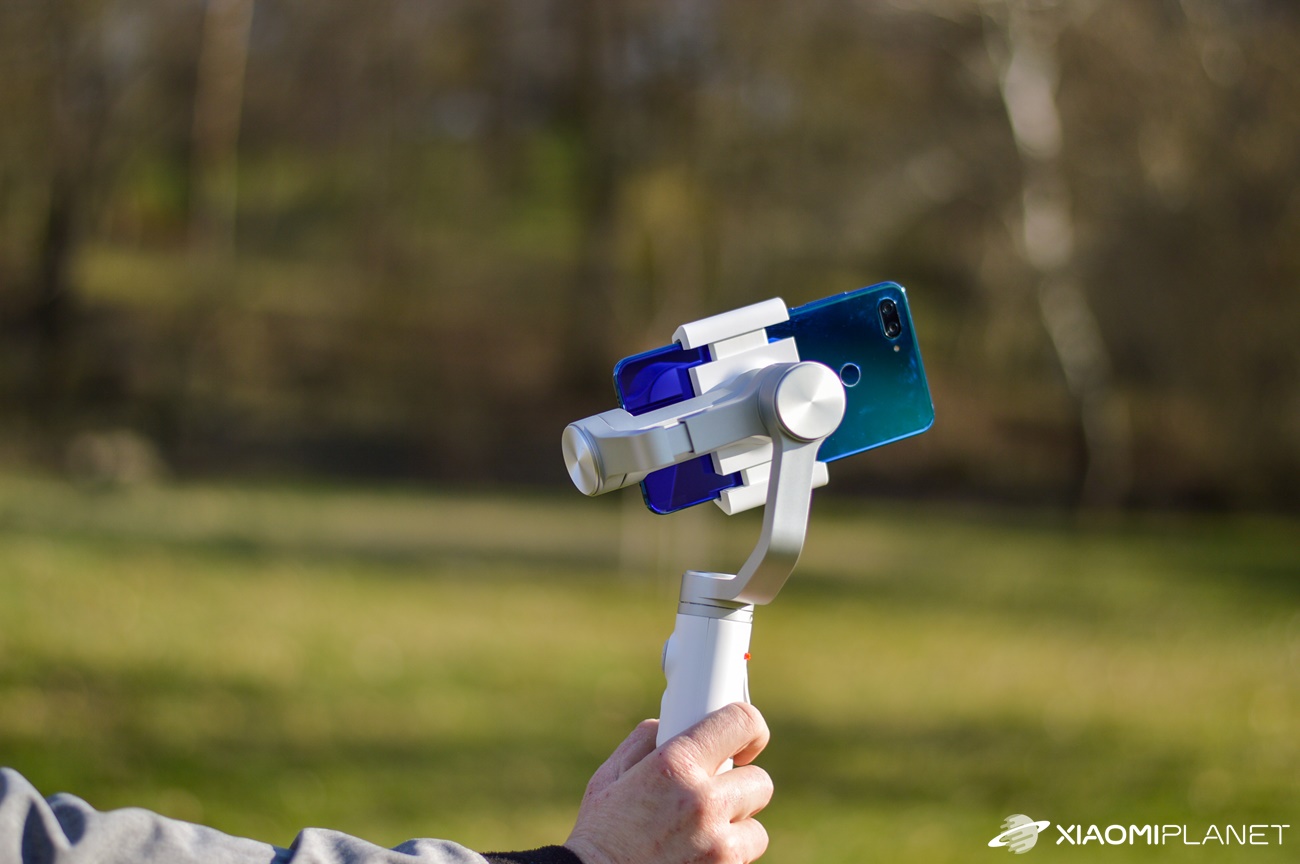
Beautiful workmanship
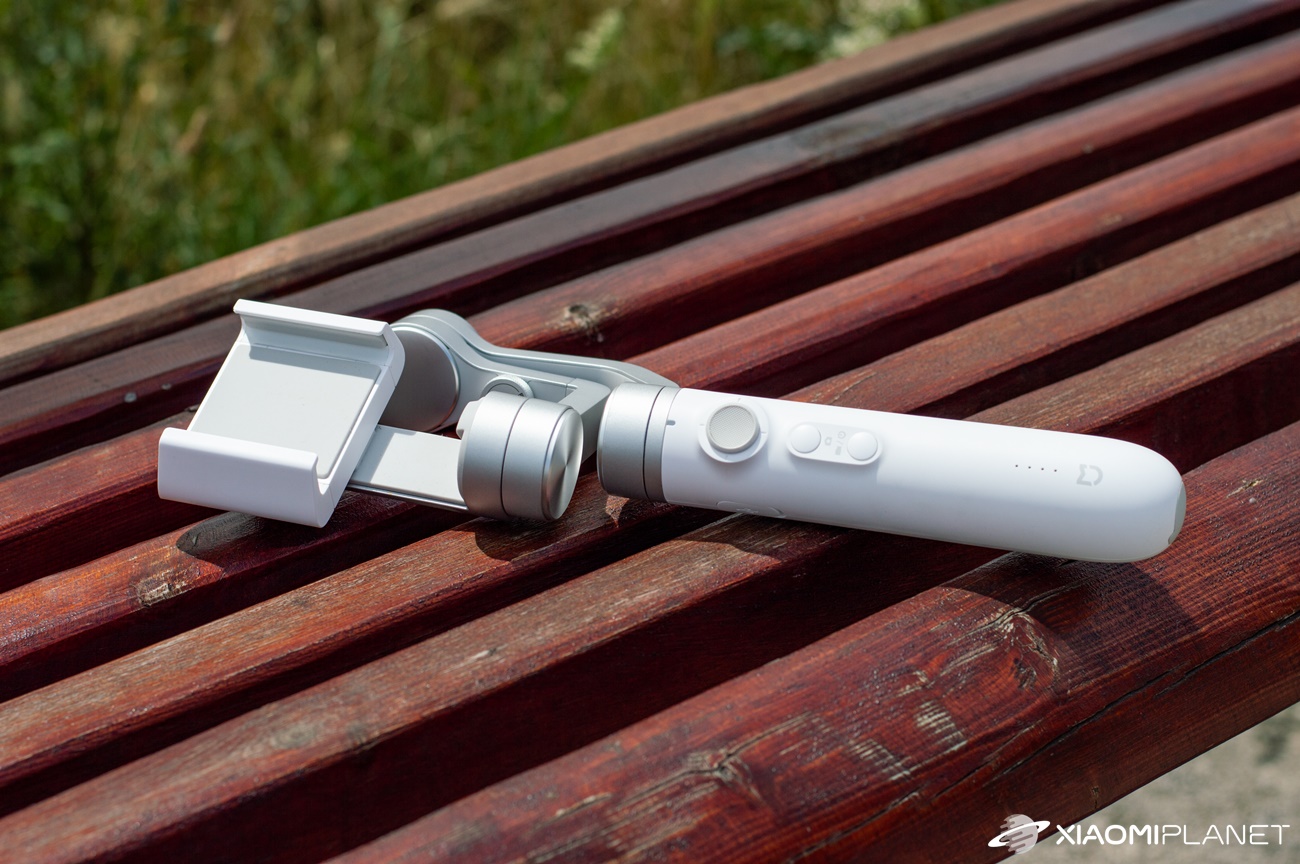
Gimbal from Mijia as one of the few, it can boast a really delicate and aesthetic treatment.
Despite the fact that it is almost entirely made of plastic, it is really solid, strong and very pleasant to work with. The advantage of using plastic is the low weight, which only 476 grams.
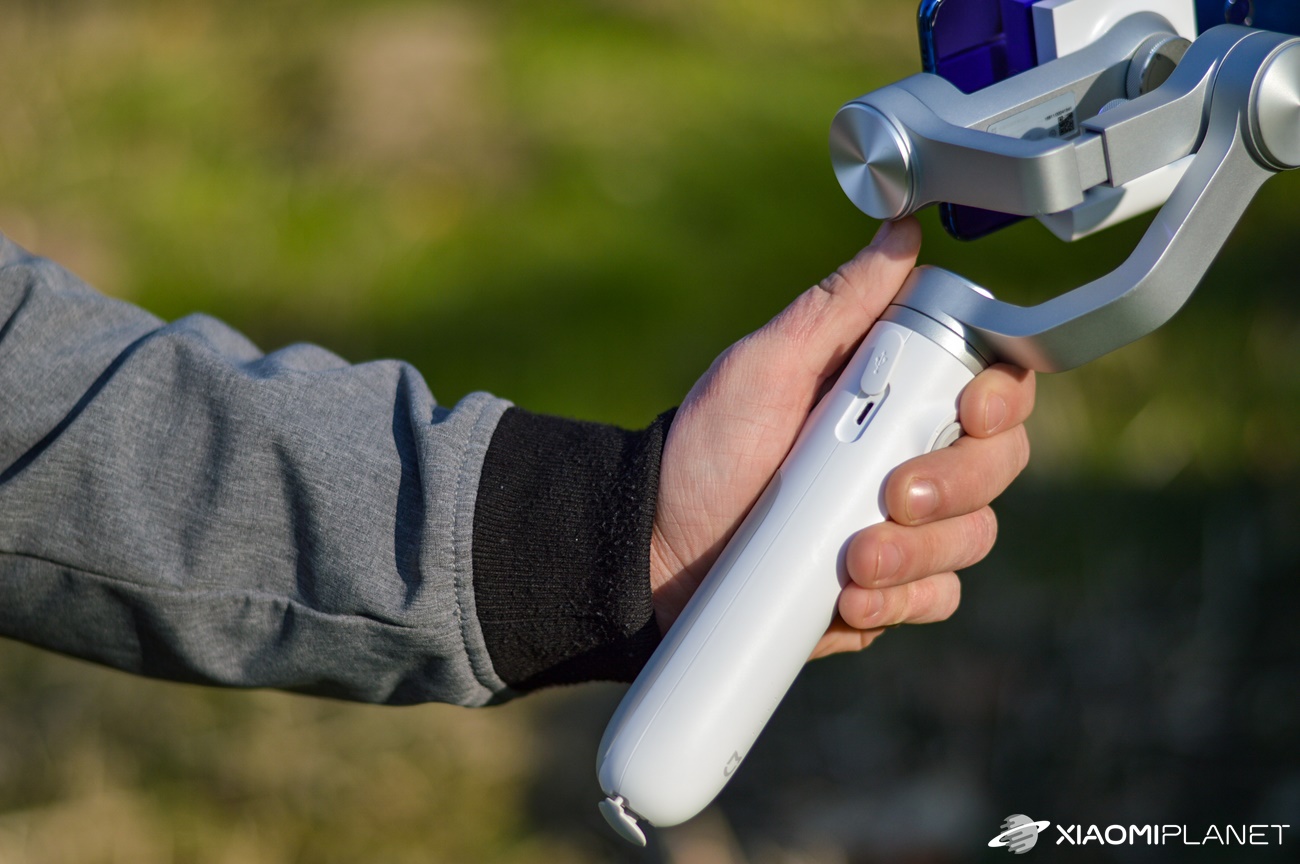
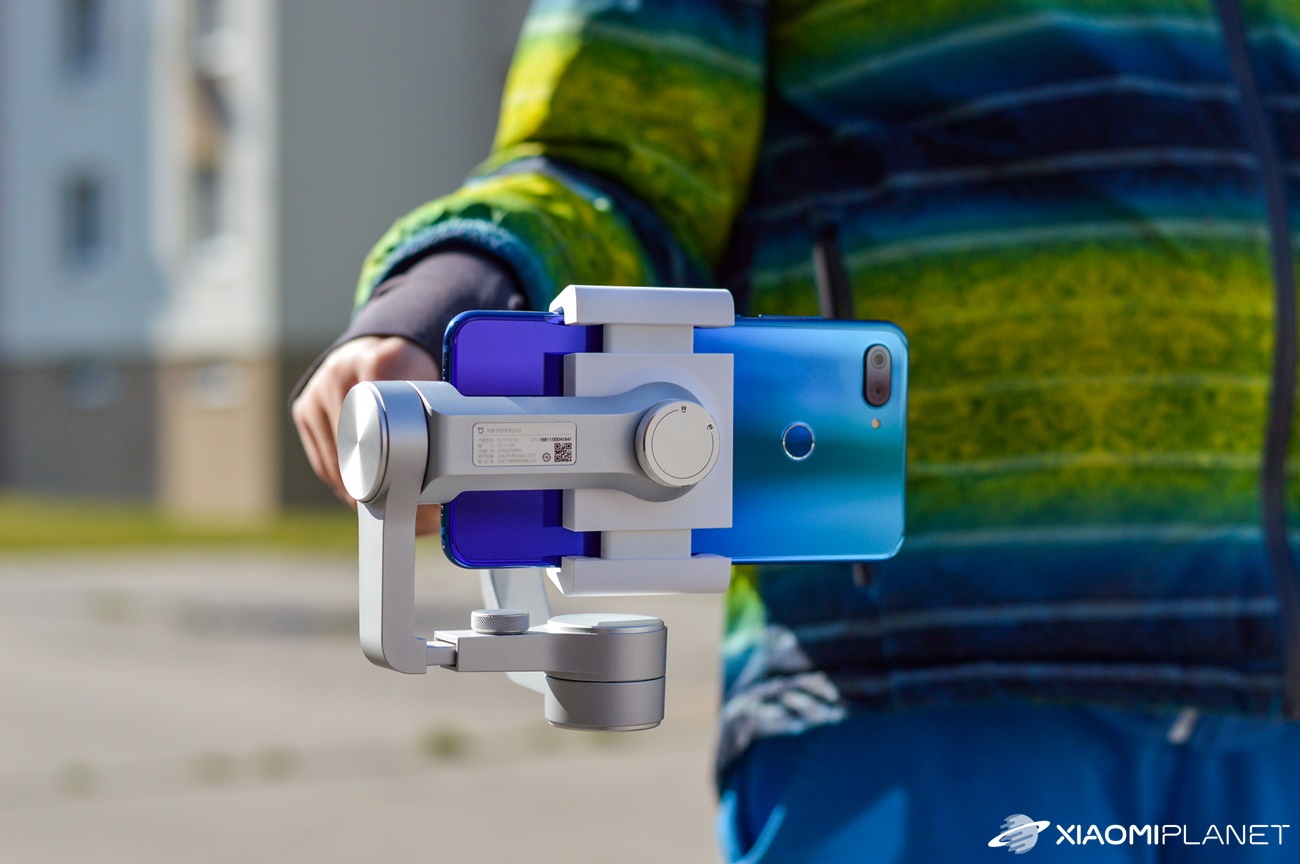
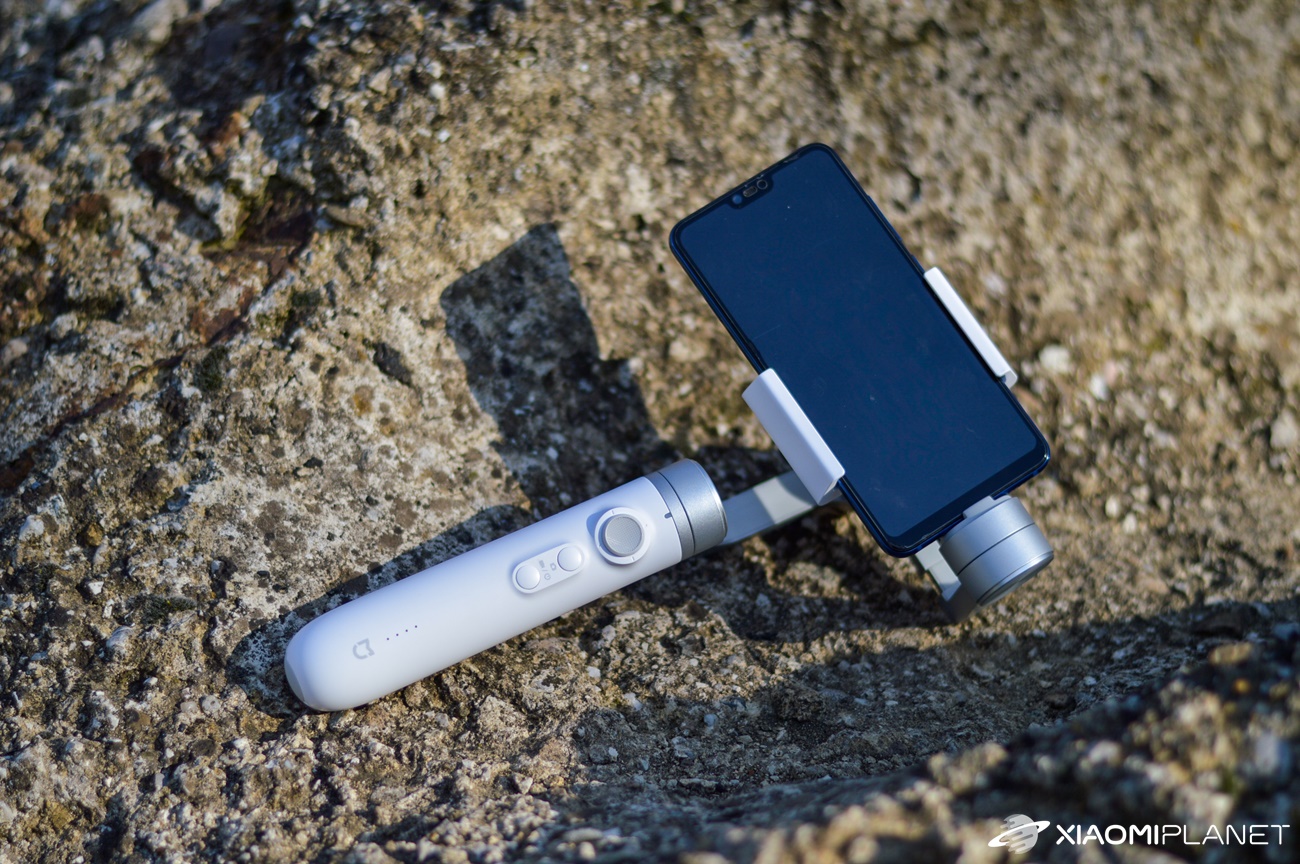
From the front of the body we find many controls. At the top is located 360 ° joystickwhich you can control the movement of the stabilizer. Below it are two buttons, the upper one serves as a shutter for shooting and the lower one to turn on the gimbal and start recording video.
Above the buttons is a built-in light indicator, which we will discuss in more detail later. At the very bottom, we again have 4 lit lights that show the battery charge status.

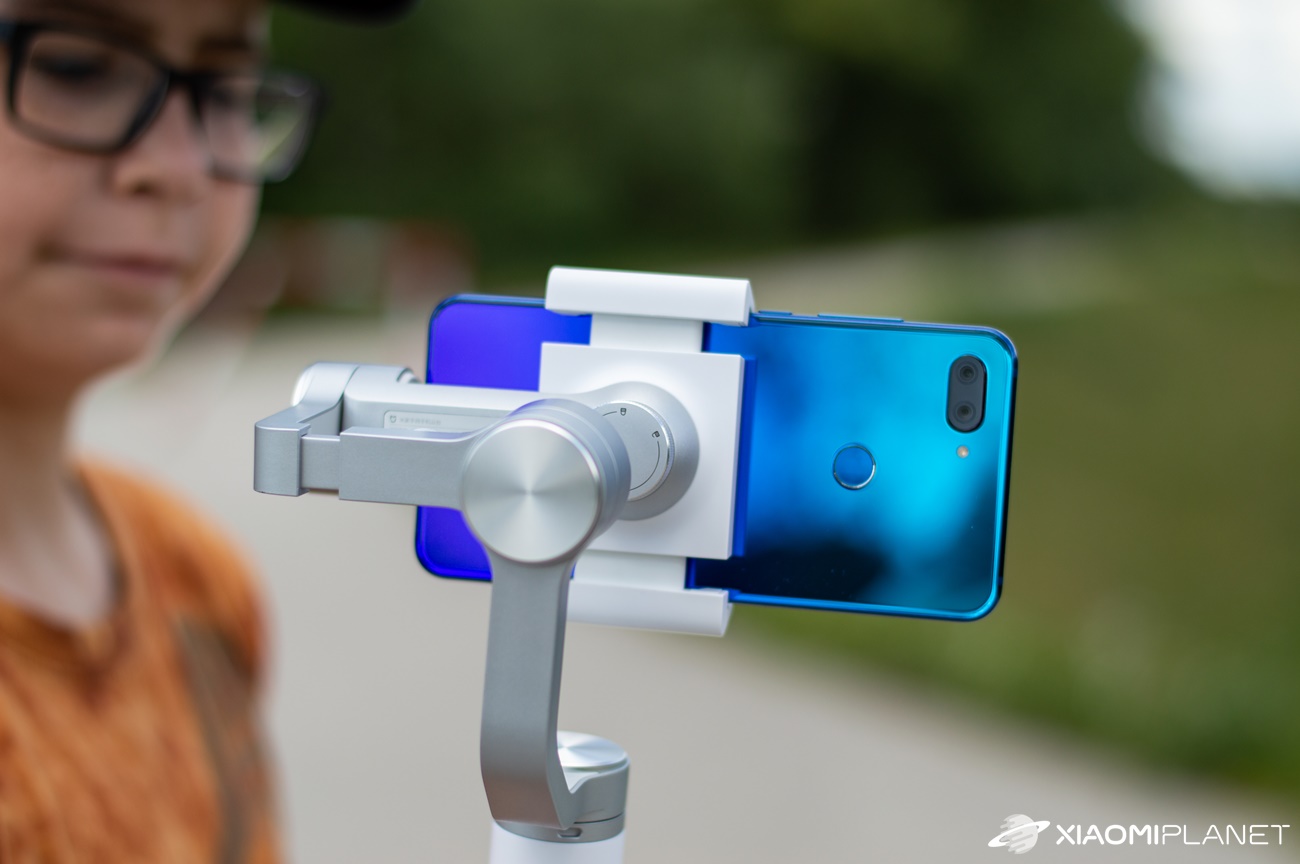
At the back we find the only colored element on the whole gimbale. This is a slider that is used to zoom when taking photos or shooting. Below it is a special "trigger" button that can be mapped to various functions according to the number of presses.
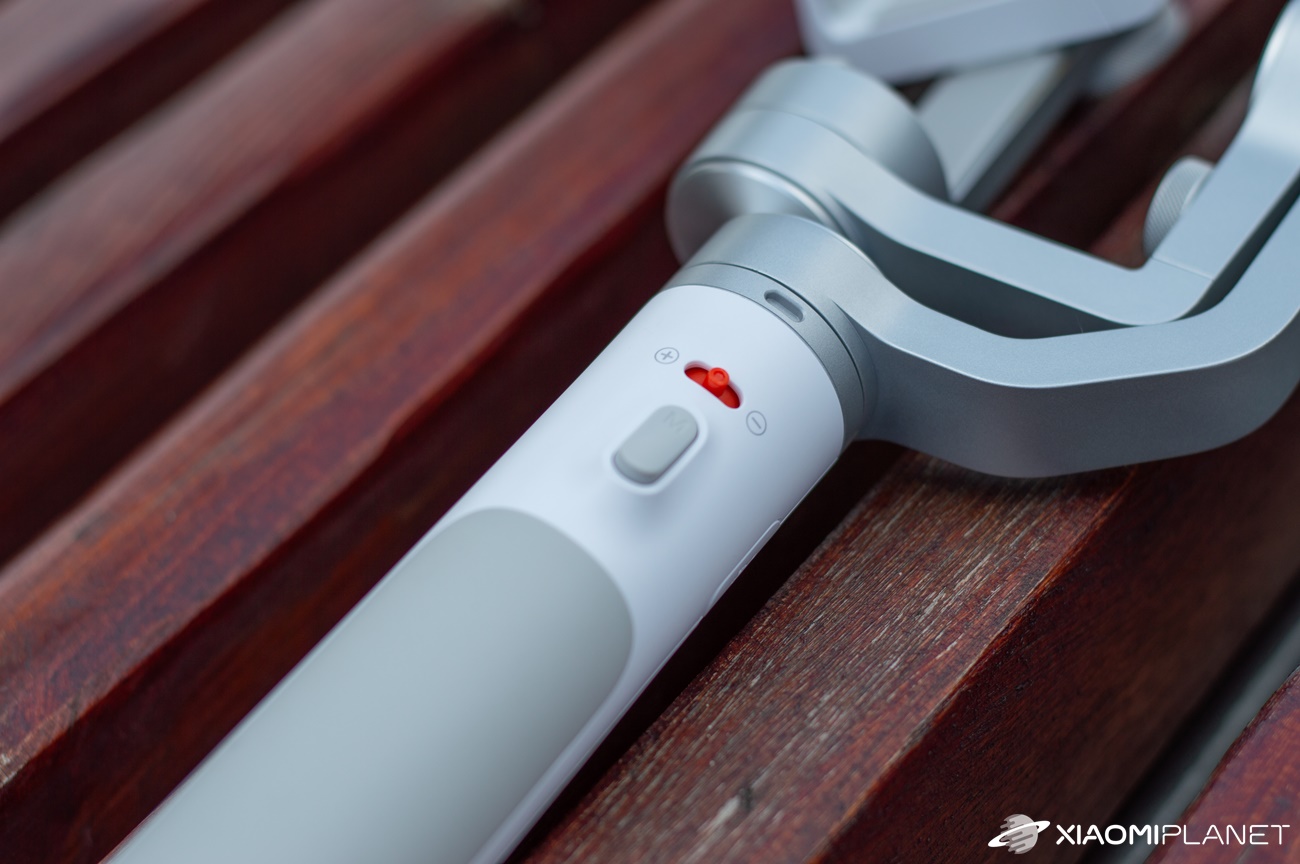
It is located on the side of the device microUSB connector, which in addition to the function of charging the gimbal itself, can also serve as a power bank. The battery inside has a capacity of up to 5000 mAh and if you omit the smartphone's charging function, it will last without any problems 16 hours operation. It is powered under 2A / 5V current.
The smartphone grips classically, as you know it from the holders in the car, for example. Simply spread the top and bottom apart and the phone will snap into place. The phone in the gimbale is really tight and you don't have to worry about it falling out at all.

All contacts with the phone are rubberized to avoid scratching the smartphone or even the action camera, which is also compatible with gimbal. After inserting the smartphone, it is necessary to center it. This is done by a thread which, when unscrewed, allows the gimbal arm to be extended.
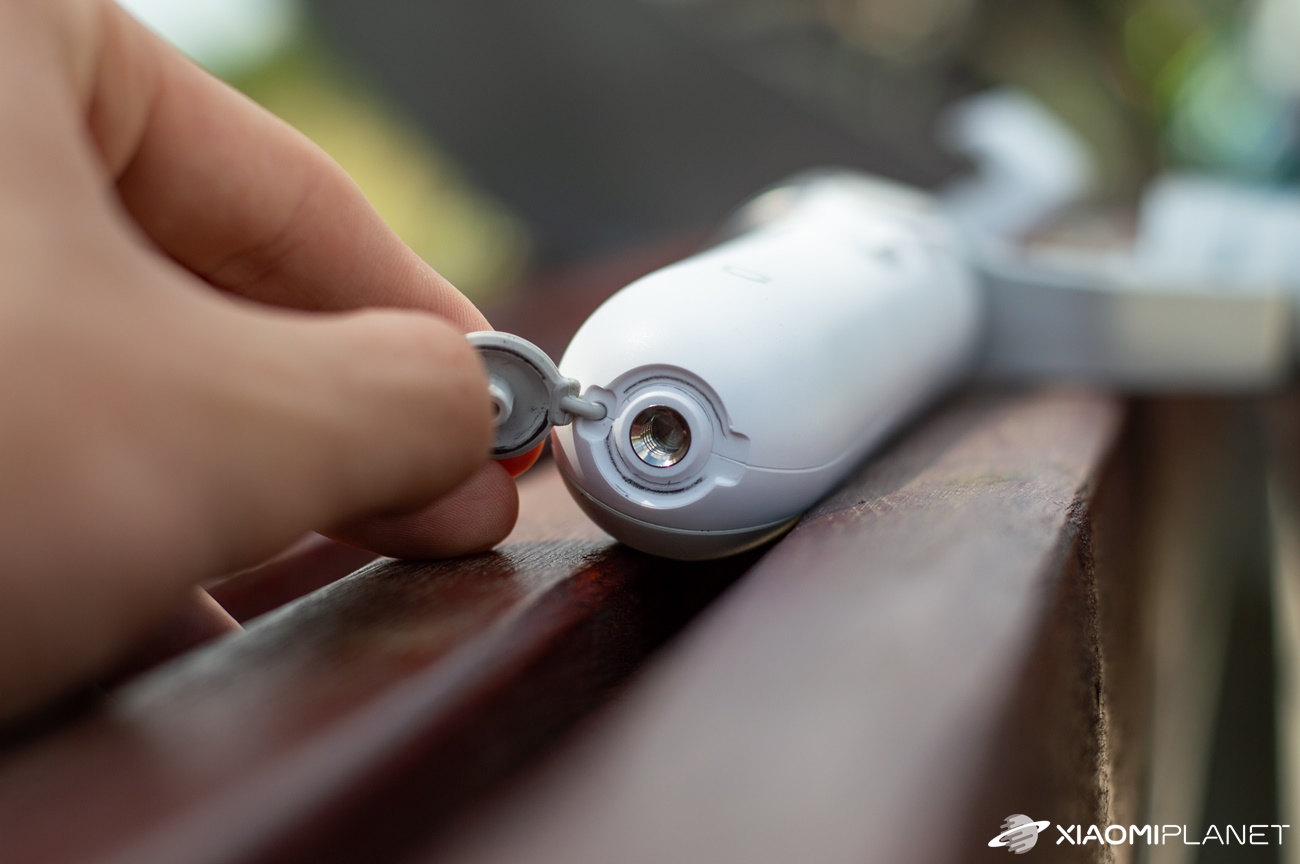
This step is very important, because with the right centering, you will help the motorcycle a lot and thus achieve better battery life. Xiaomi Mijia gimbal can work with smartphones with maximum weight 200 grams and width od 56 to 86 mm.
At the bottom there is only a classic thread, which can be found on tripods.
Connecting to a smartphone
Xiaomi Mijia stabilizer, like all others, offers the ability to connect the gimbal to the phone. The connection is made via Bluetooth in version 4.0, using the application Mi Gimbal.
In the enclosed manual, though all in Chinese, you will find QR code, which after scanning it will take you to a link where you can download and install the application. The application used to be available on the Google Play and App Store platforms, but currently it is no longer there.

The app for Android can be downloaded via this link from the official FIMI website https://fimiservice-newus.mi-ae.com/downapp/downFimiApp.html
Manufacturer's website: https://www.fimi.com/mi-smartphone-gimbal.html
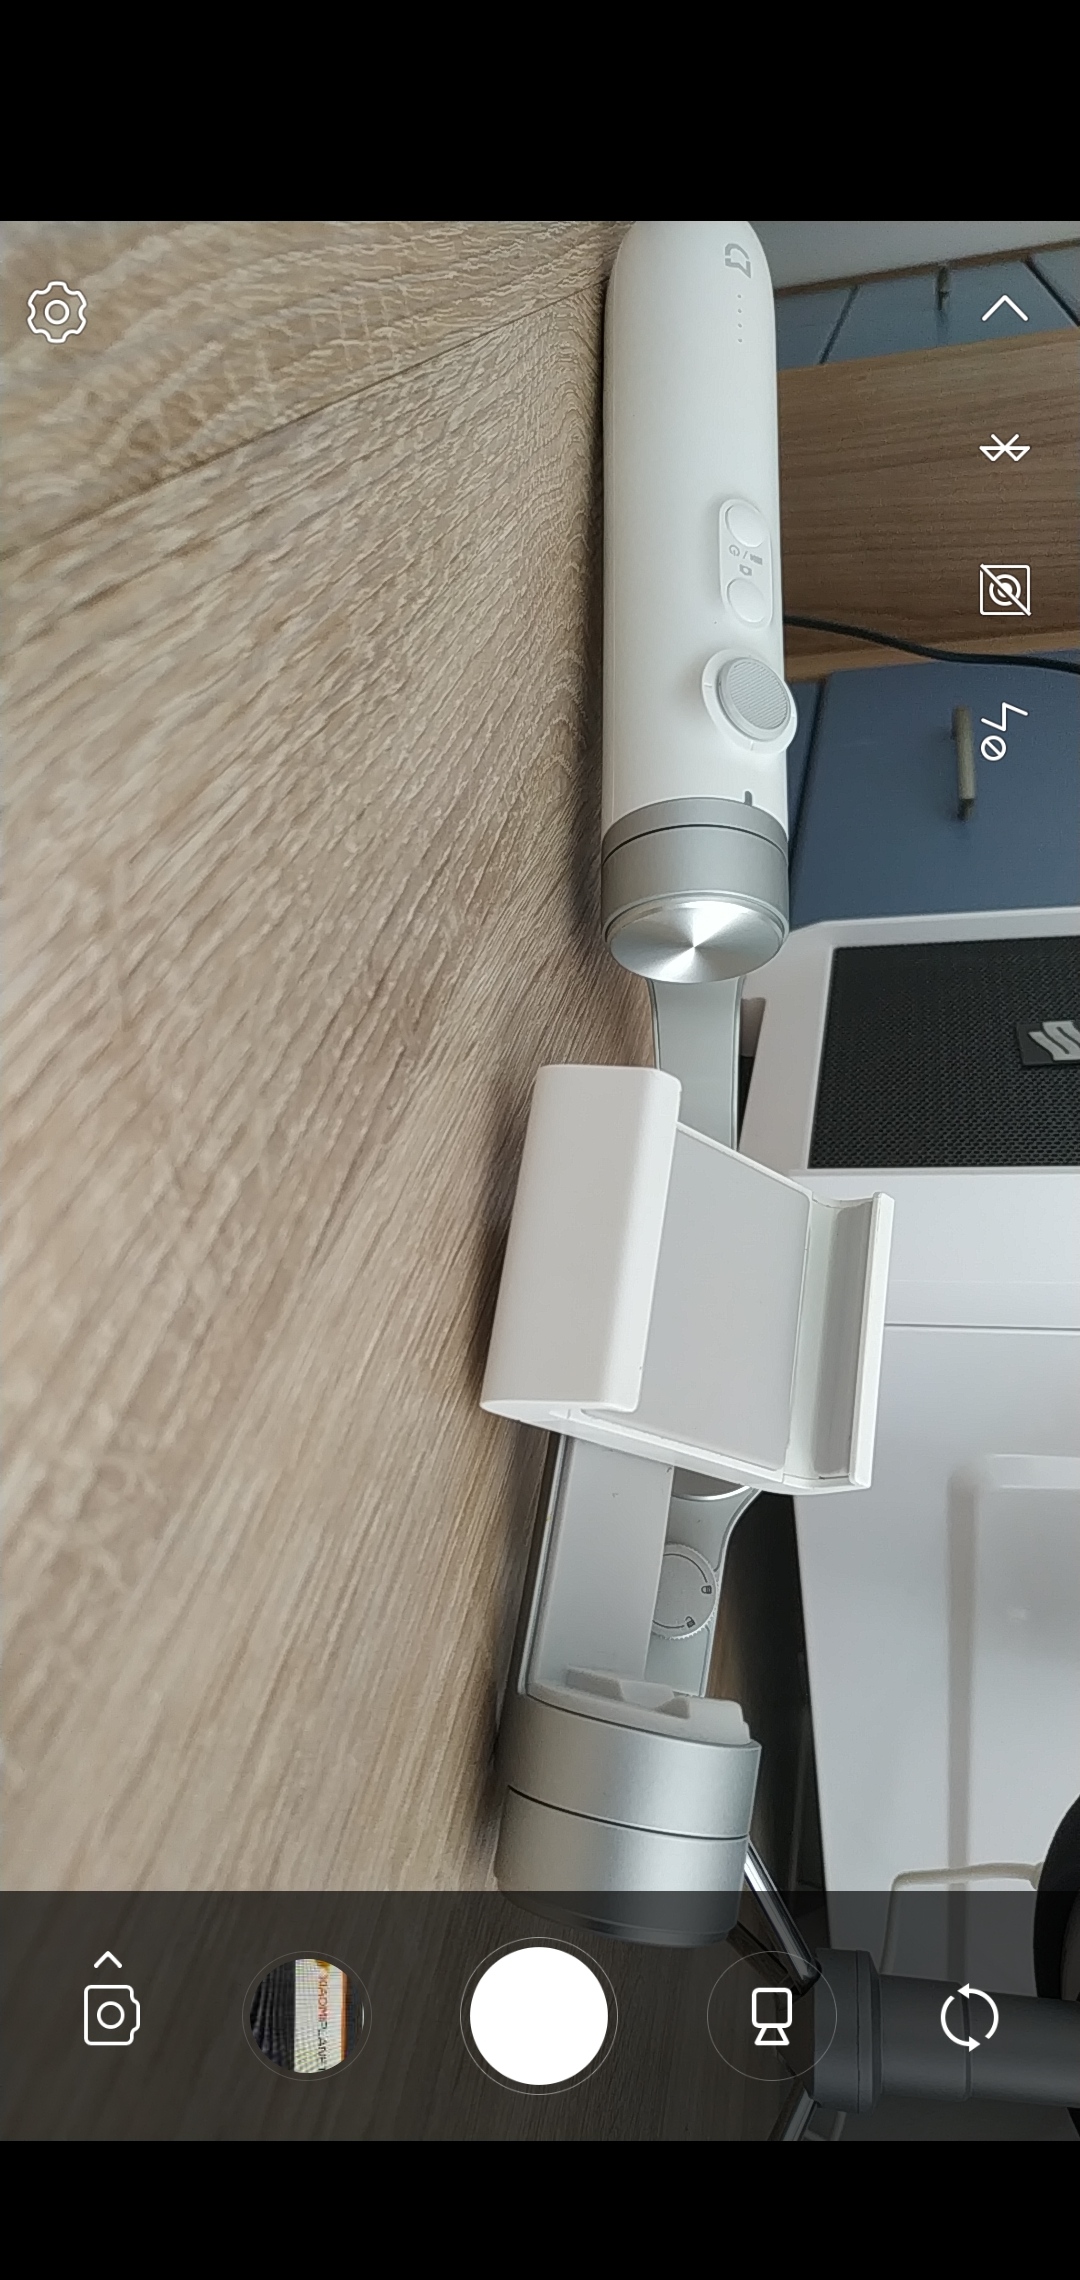
First you need to turn on the gimbal. The indicator light will flash blue at this time. As soon as you start the application, you will need to log in with a Google or Mi account and then select the region in which you are located.
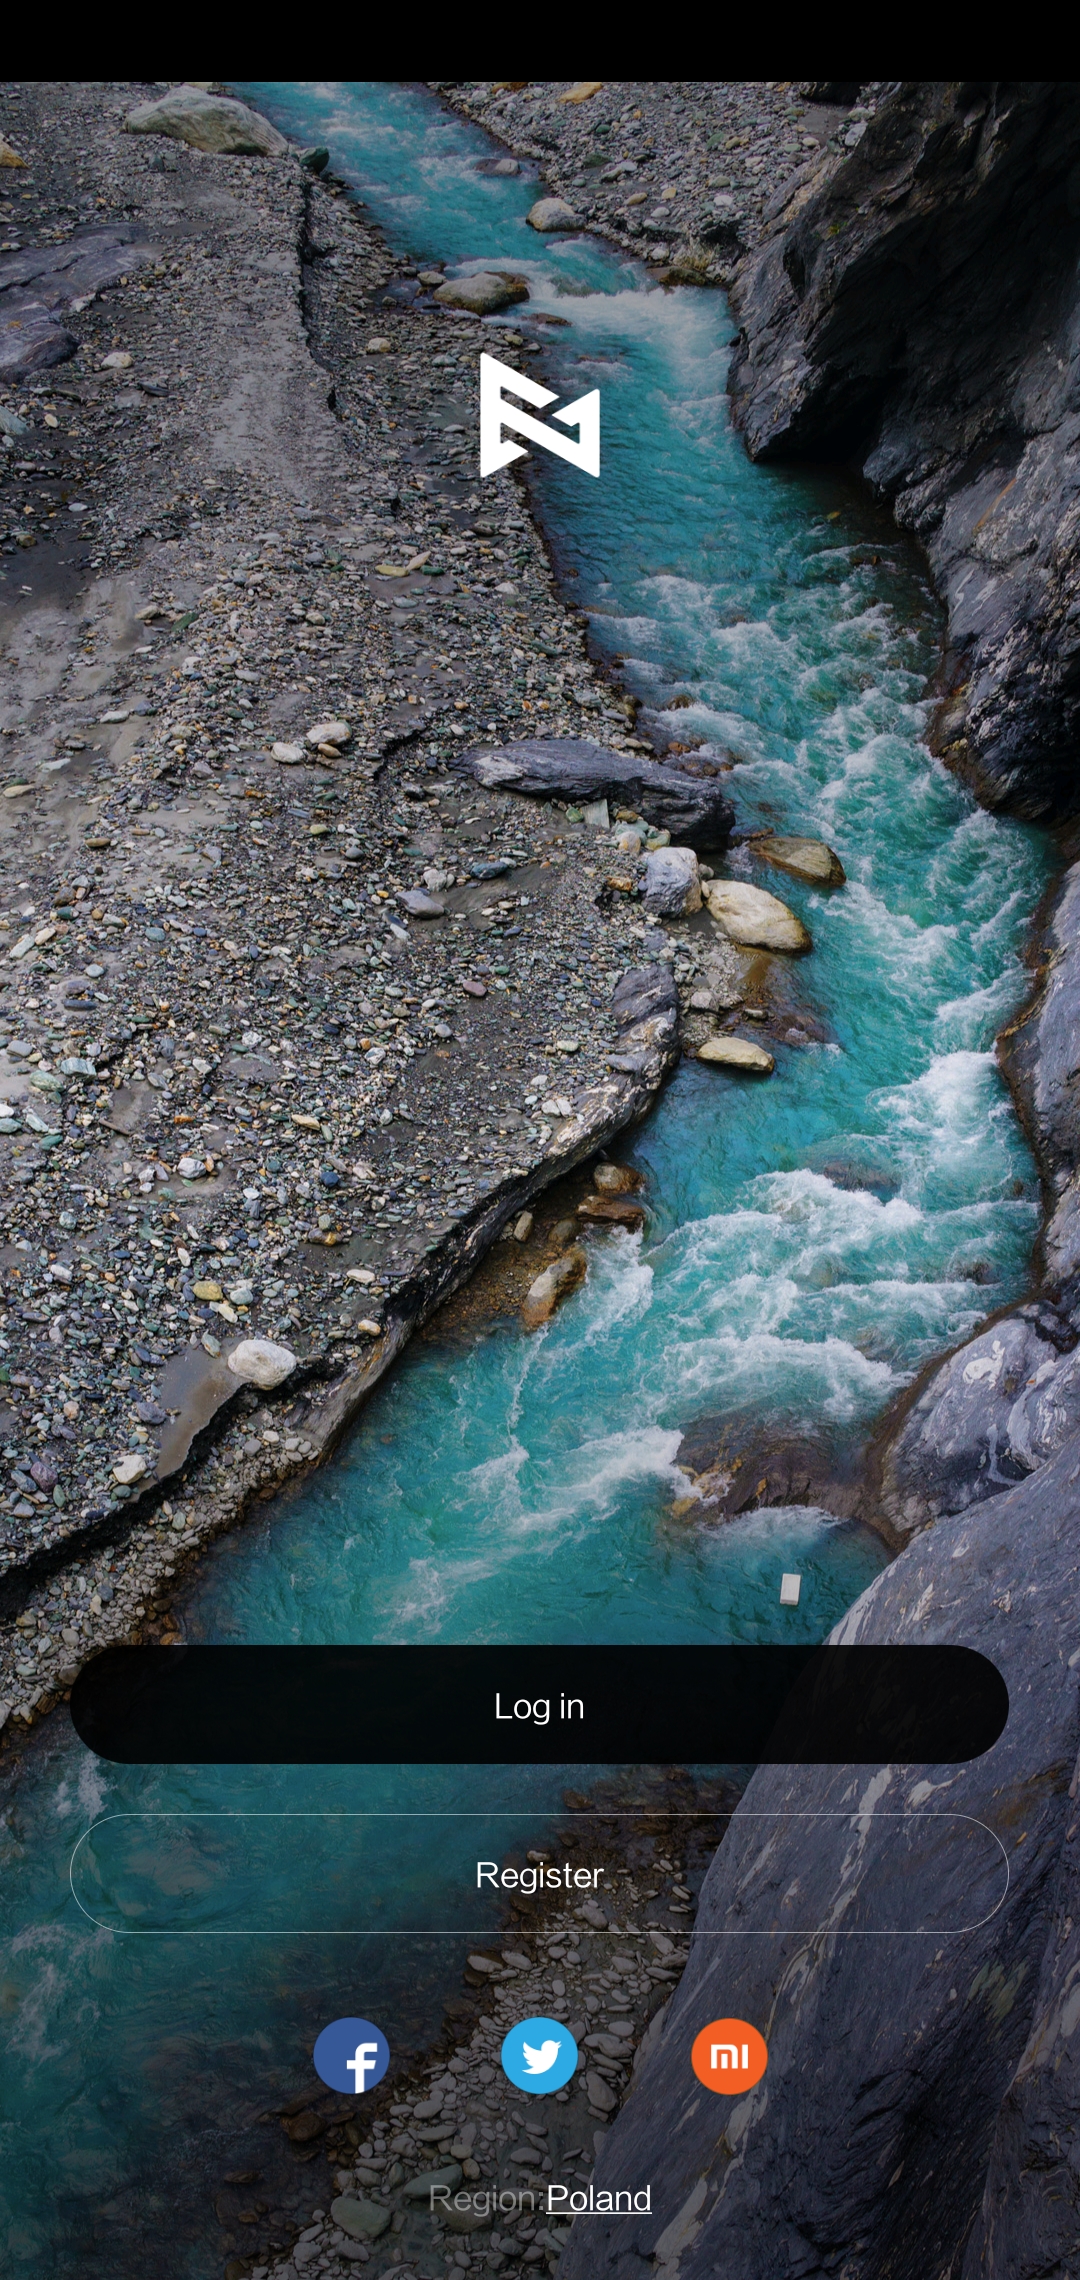
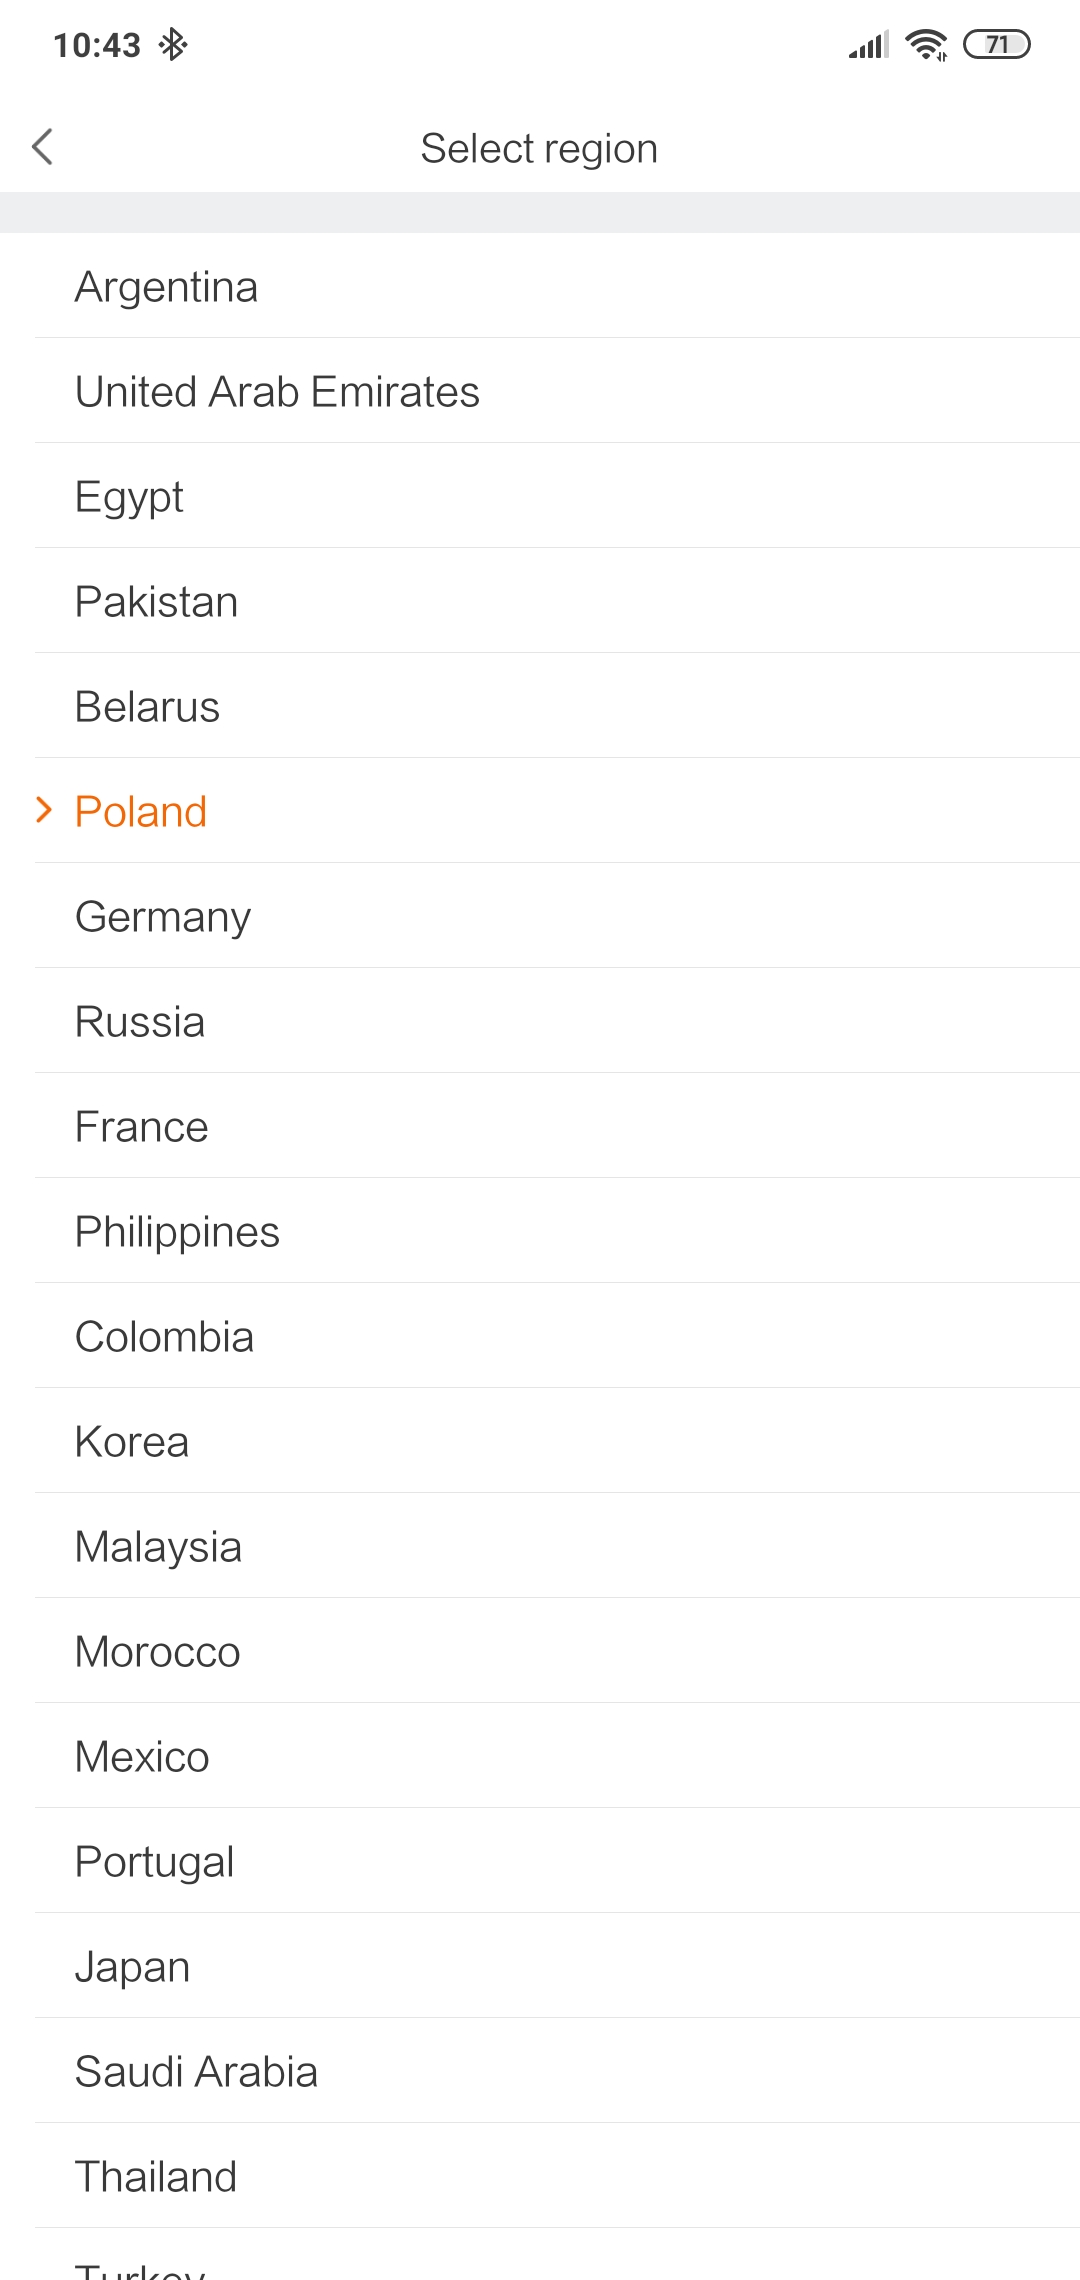

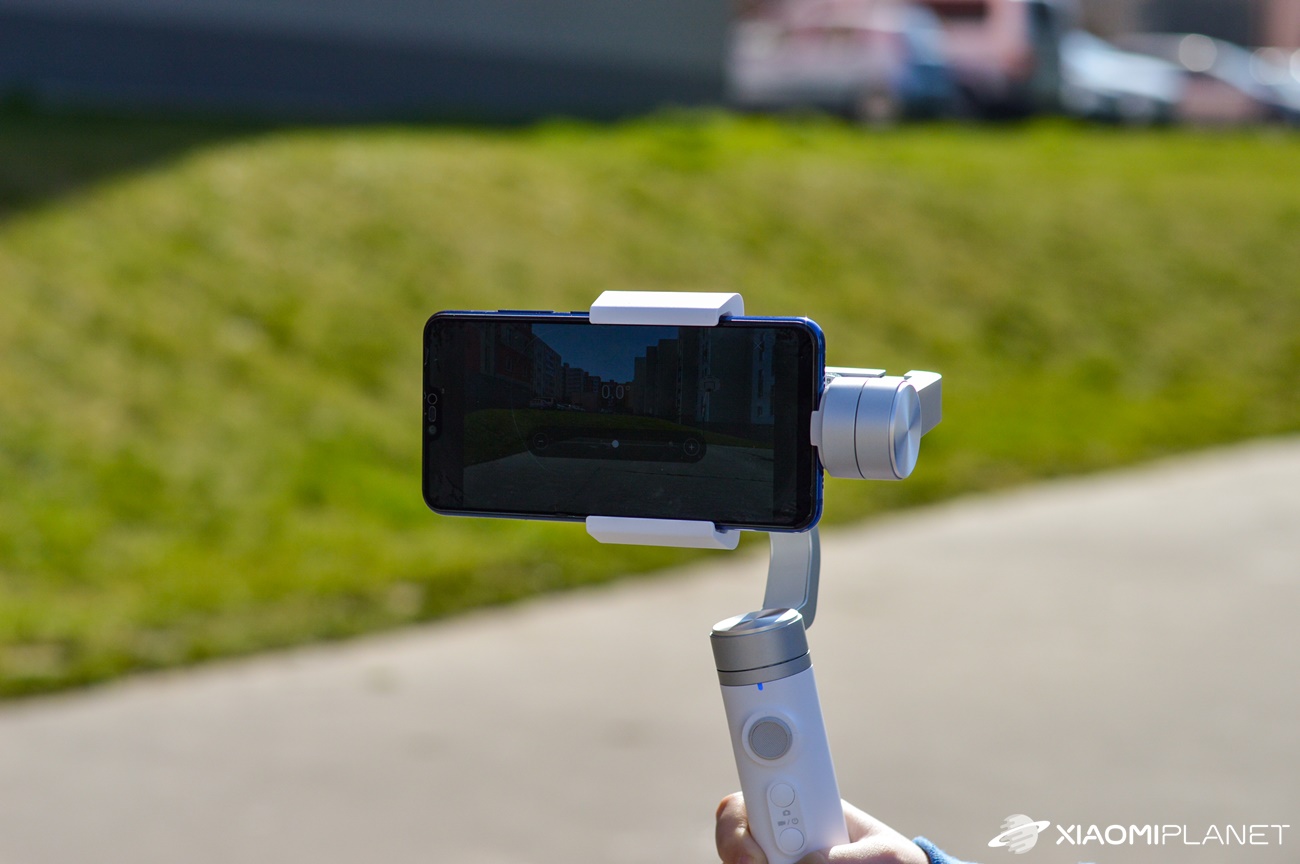
Since we did not find Slovak there during the product testing period, we chose the region Polsko. It will also be necessary enable GPS service. After this step, you will find yourself in an environment similar to a photo application, so you will see a live preview of what your camera is currently capturing.
There is a Bluetooth icon in the upper left corner. Clicking on it will open a list where a gimbal should appear ready in a few seconds. The device name was in our case MiGH_020124.
In terms of connectivity, we didn't have a single problem with a bad connection or a weak signal during use, despite the older Bluetooth 4.0. After a successful connection, the indicator light turns blue.
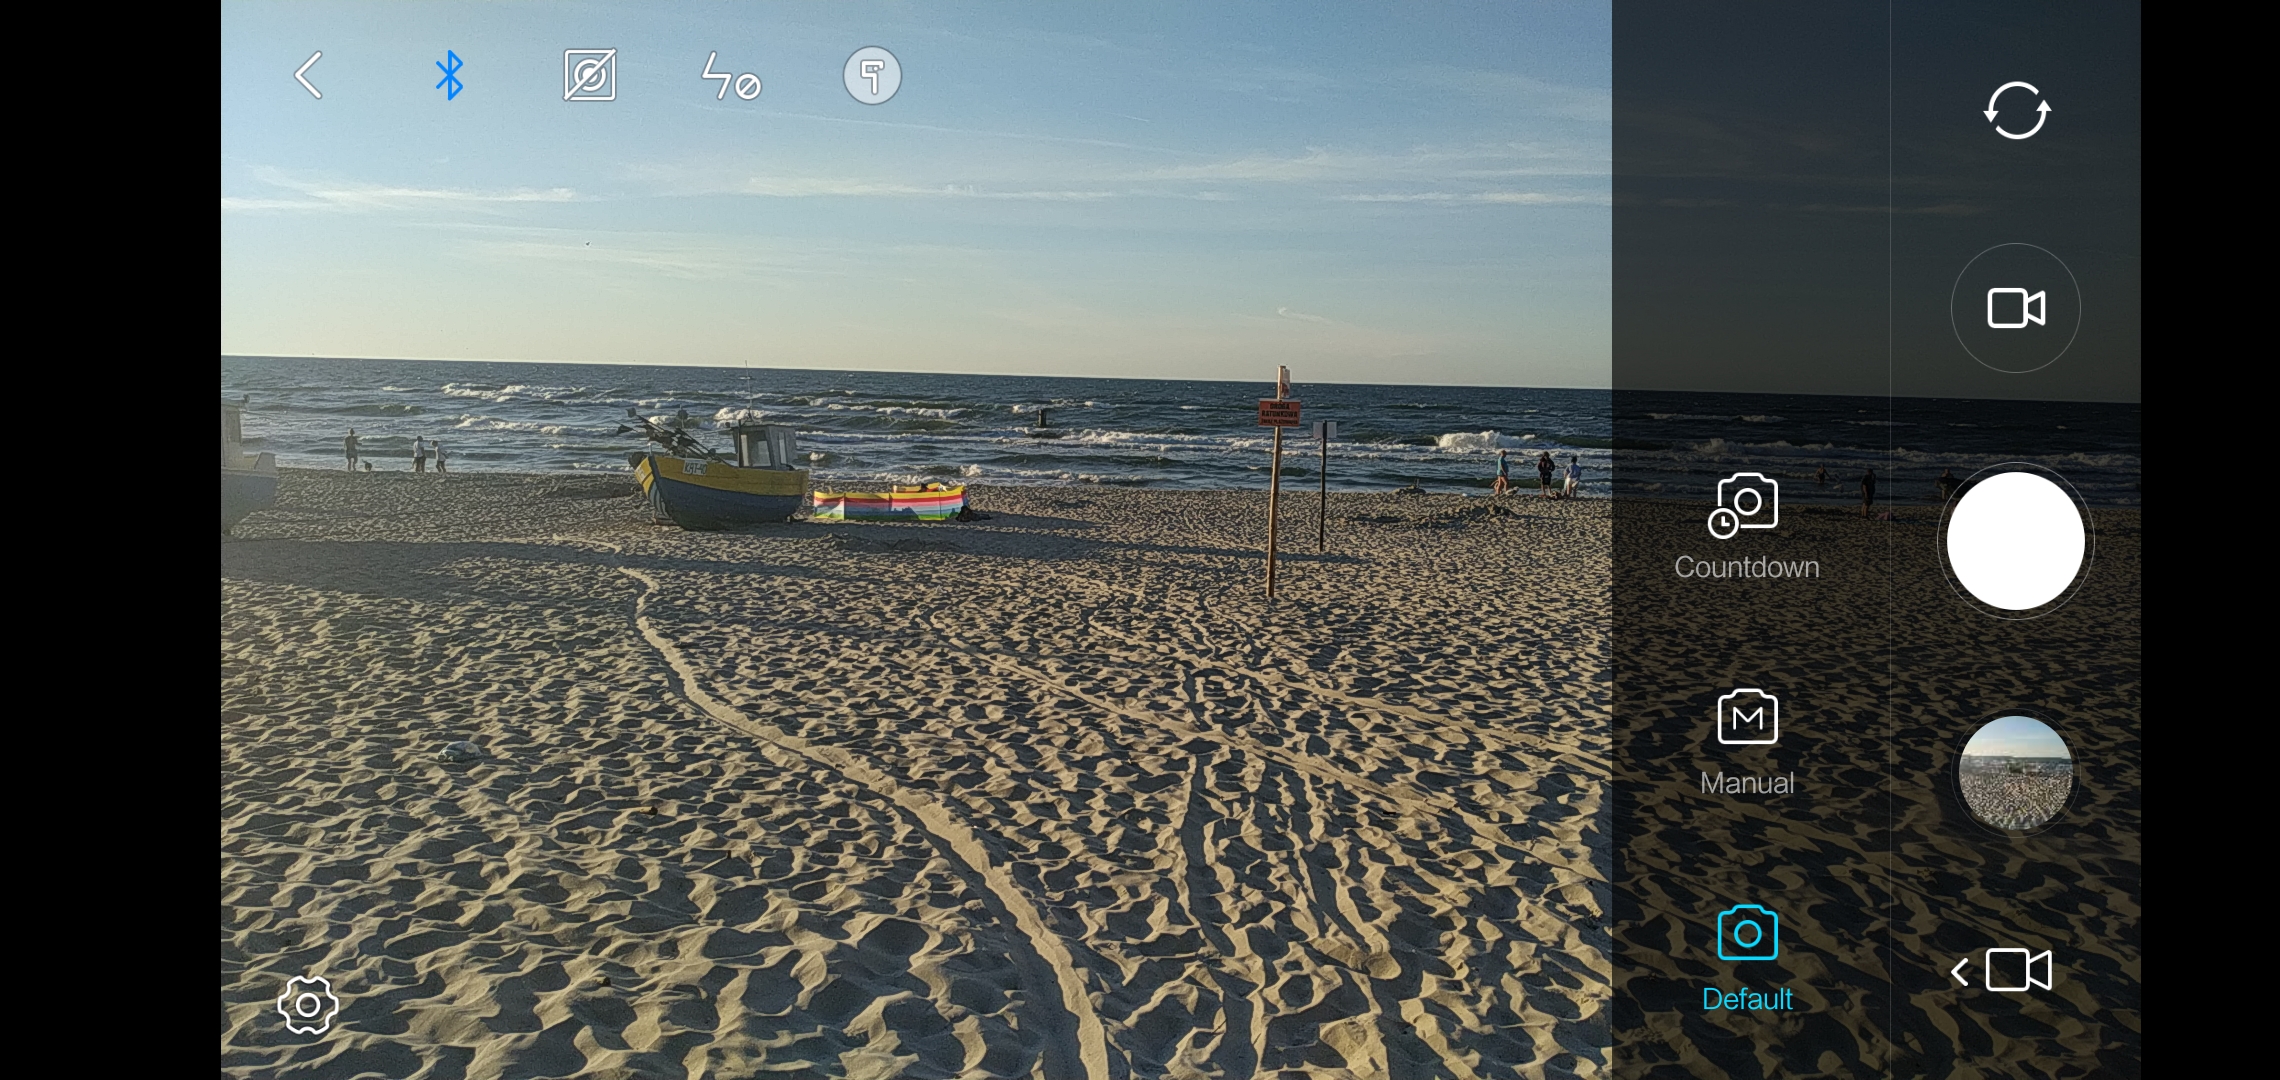
Gimbal can work in 4 basic modes. The first is the classic horizontal, the second is vertical, in the third mode you can turn the gimbal upside down and the last, fourth, is the so-called "flashlight" mode.
We tested Gimbal with an older Mi 8 Lite smartphone. Basically, the application allows you to shoot in resolutions 4K (3840 x 2160 pixels), Full HD (1920 x 1080 pixels) a HD (1280 x 720 pixels), with the maximum possible adjustable frame 30 FPS. If you want to shoot at 60 FPS, you will need to use the built-in camera app directly on your smartphone.
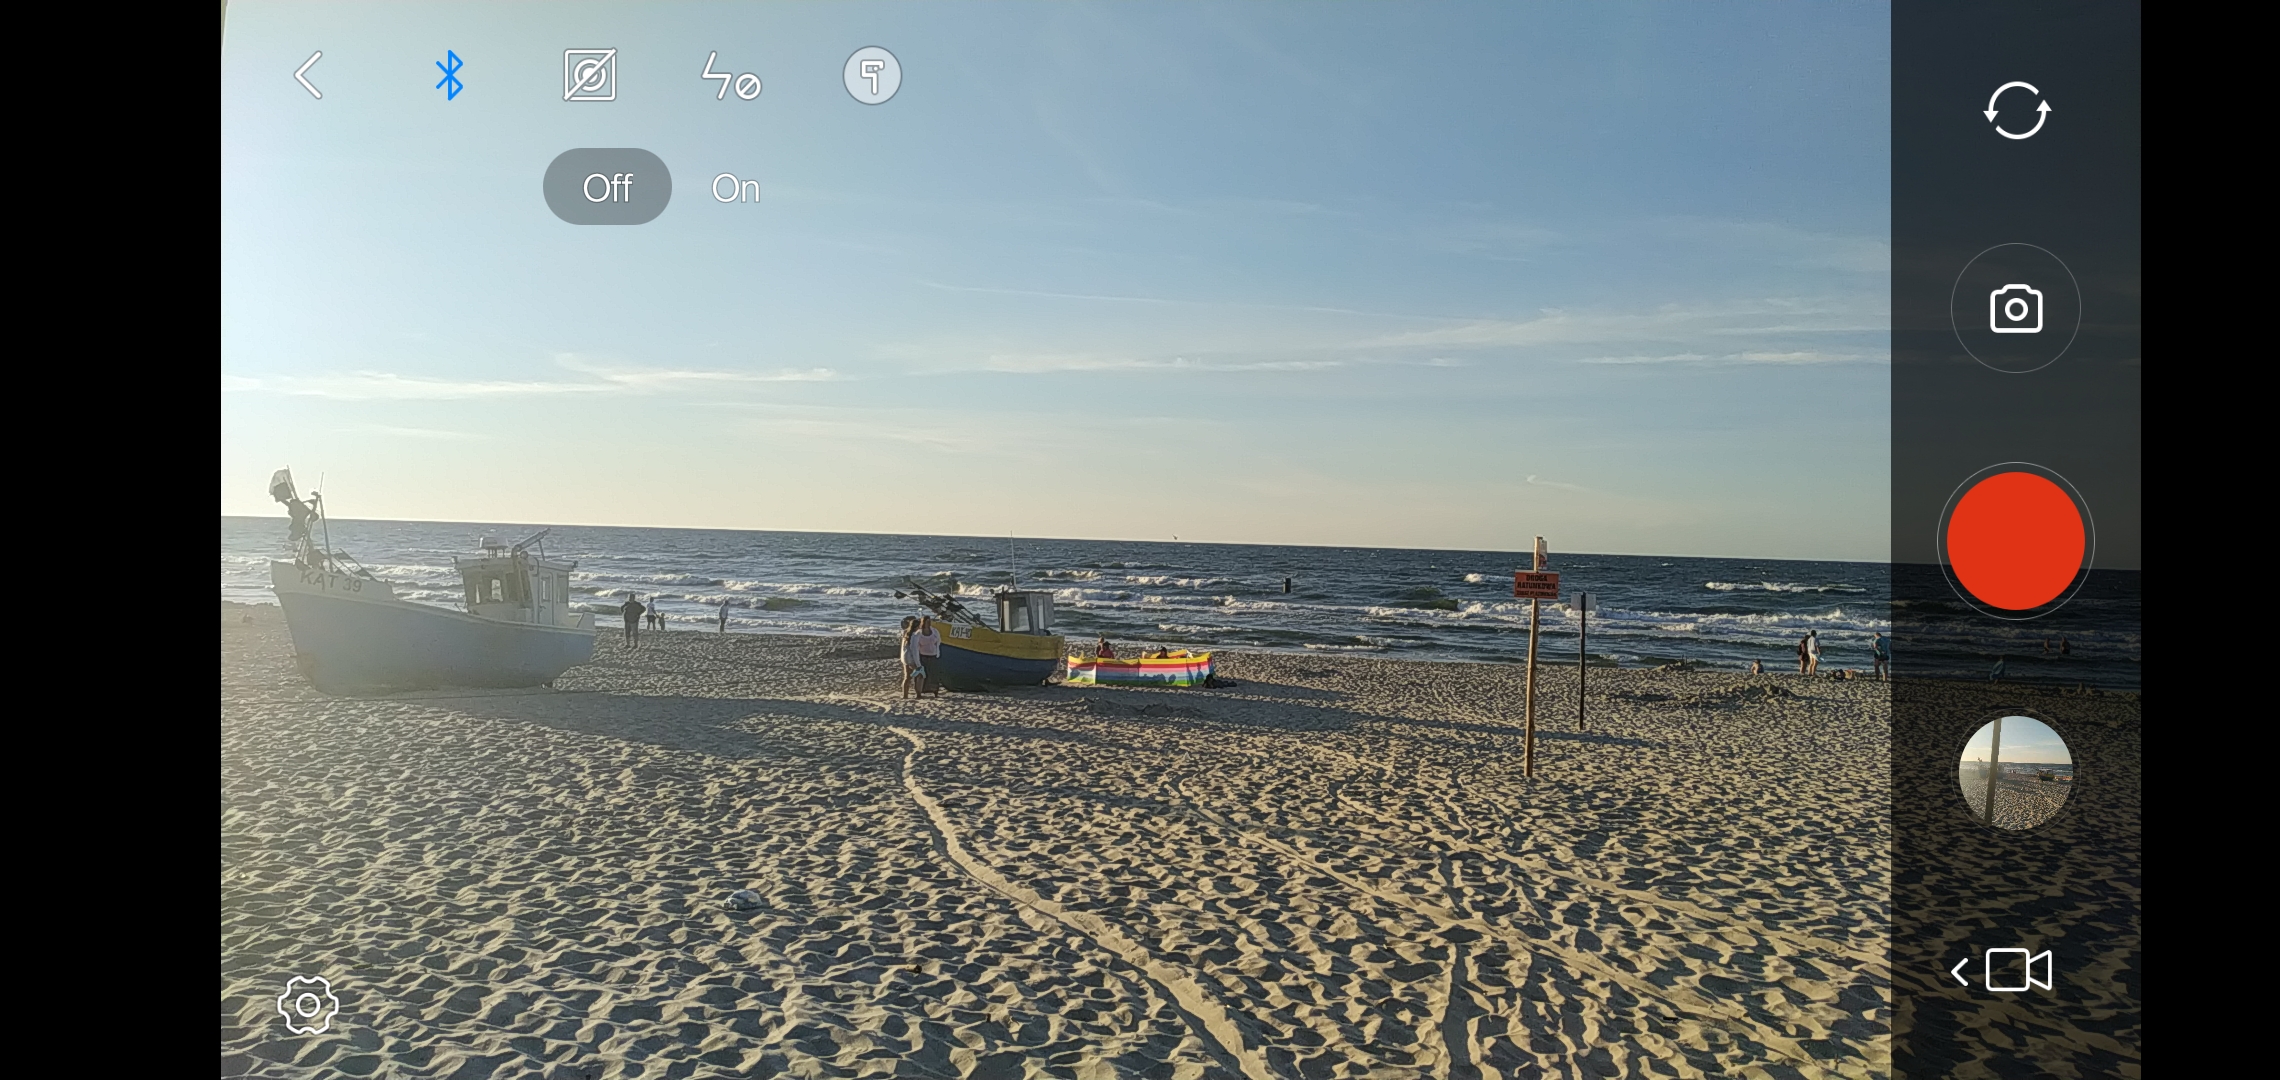
The application environment is relatively clear and has a number of functions. As you can see on the screenshote, the application has almost the same environment as the photo application on the phone. Below we will describe the individual functions that we appreciated as amateur cameramen.

The first is object tracking. After selecting this function in the upper left corner, the gimbal will follow the marked objects in motion for you. Simply draw a rectangle over the selected object with your finger and the gimbal will do the rest of the work for you.
A very useful feature when shooting children, pets or moving things in general. It can also be used when you want to make a nice and elegant shot and you need the subject to remain in the image. But you need to be careful when the object or you move too fast. Then it may happen that the observed thing of gimbal escapes.
The other two very interesting features are "Time lapse"And"Move lapse“. Both have the task of making an accelerated video, which we are used to during time lapse.
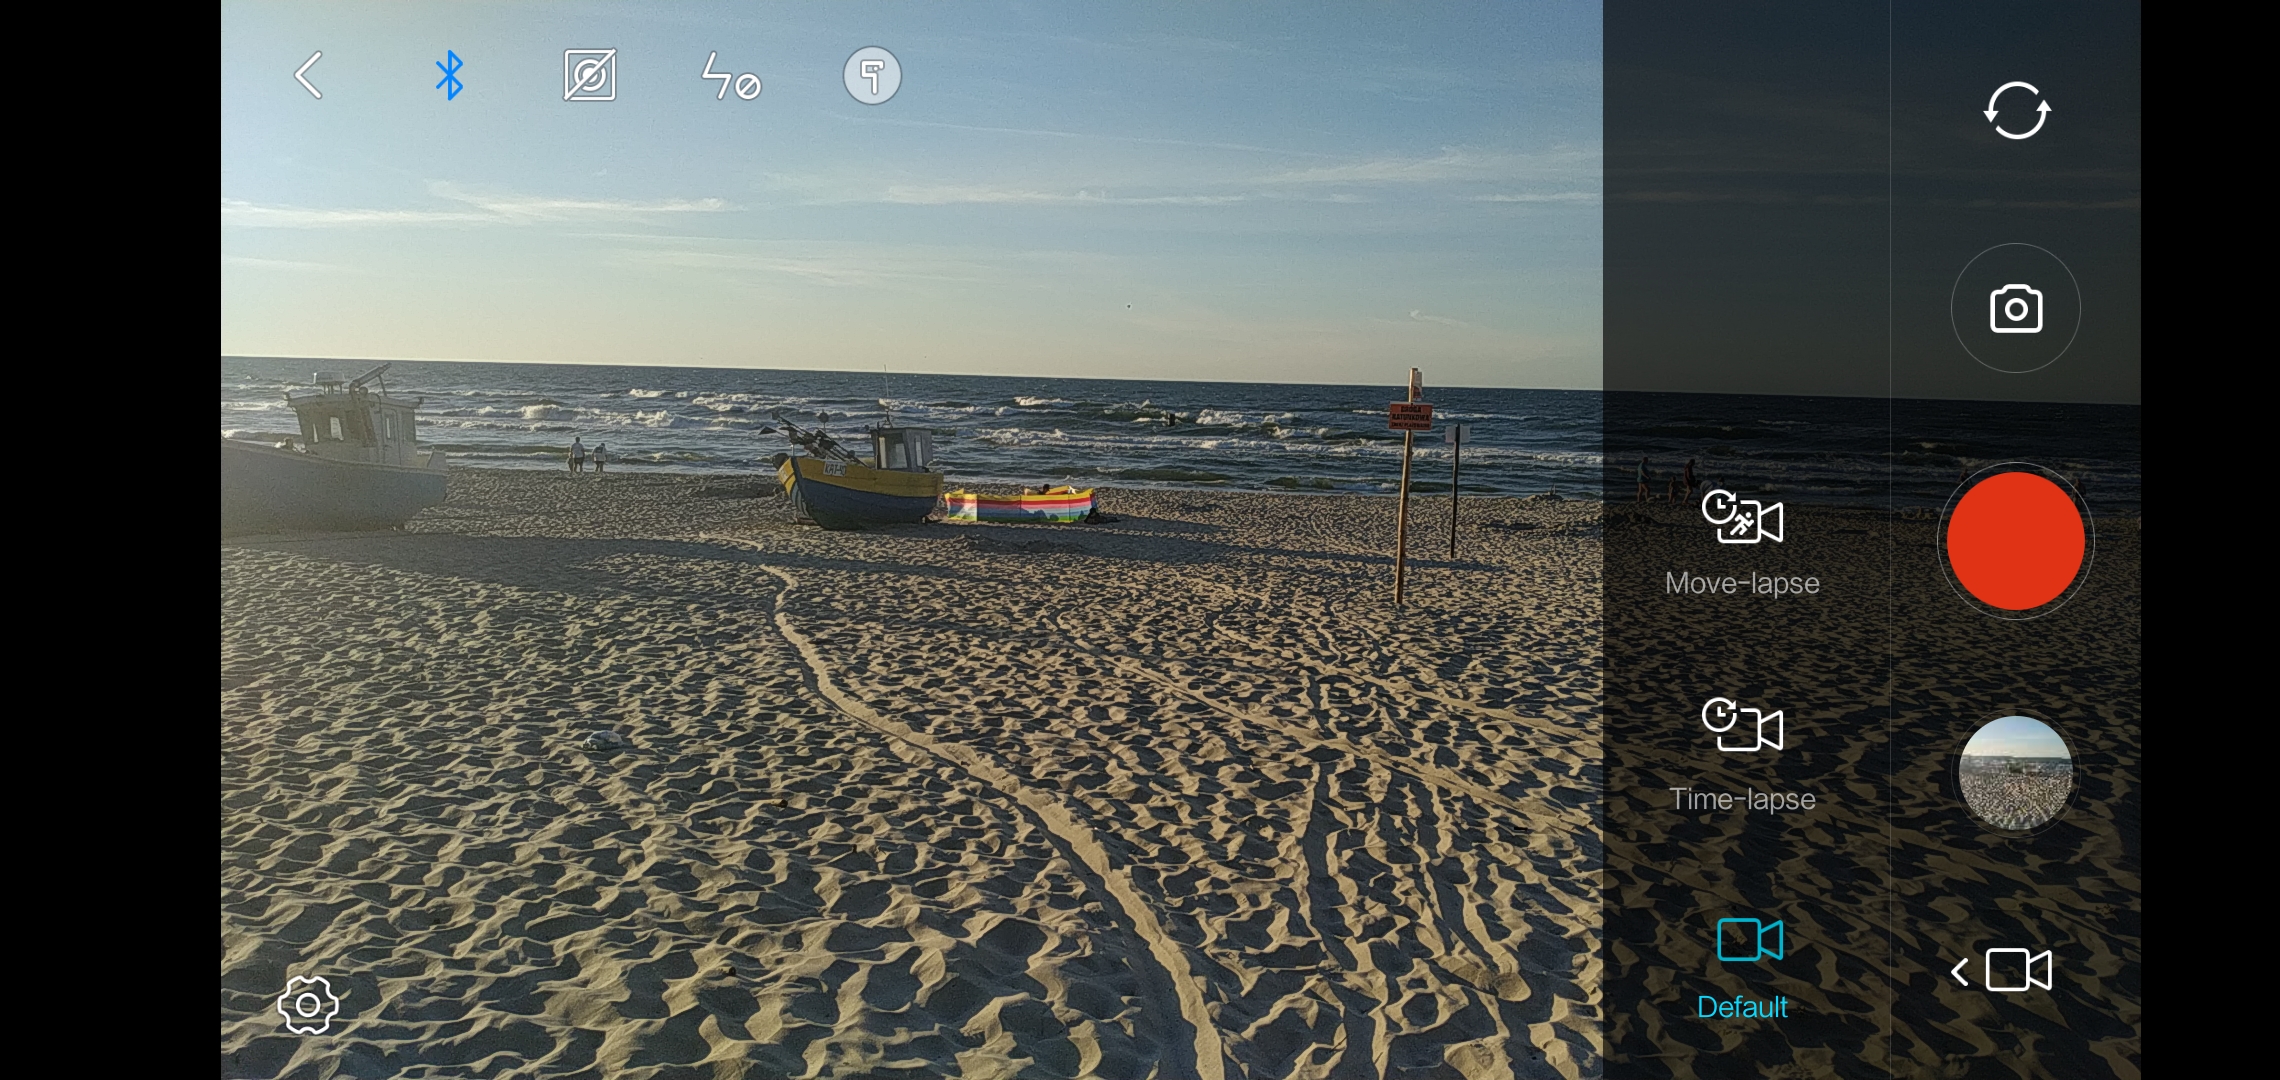
The difference in them is that Move lapse automatically captures the image according to the selected positions of the gimbal. In practice, this means that you can select multiple positions, add them to the shooting sequence, and the entire shoot will be stabilized for you. With this feature, you can easily get a perfectly shot time-lapse video.

Function slow-motion it's not missing here, but it's limited to use with iPhones, so if you have Android, you won't find it in the menu.
The application does not offer many options for photography. All you have available is a manual mode in which only the white balance and timer can be set. It is possible to set the interval for the timer 3, 5, 10 a 15 seconds. There is also the option of turning the flash on or off.
The gimbal protection function is extremely useful. When the motorcycles are blocked for a short time, the gimbal automatically shuts off all its stabilizing motors. A very valuable feature in case the gimbal is badly balanced, falls or turns on itself in some way.
After a thorough check of all possible obstacles, by double-clicking on the trigger button, the gimbal is centered again and is ready for use. During this protection of the gimbal, the signal light will turn red.
There is also an off timer. After a few minutes of inactivity, the gimbal turns itself off.
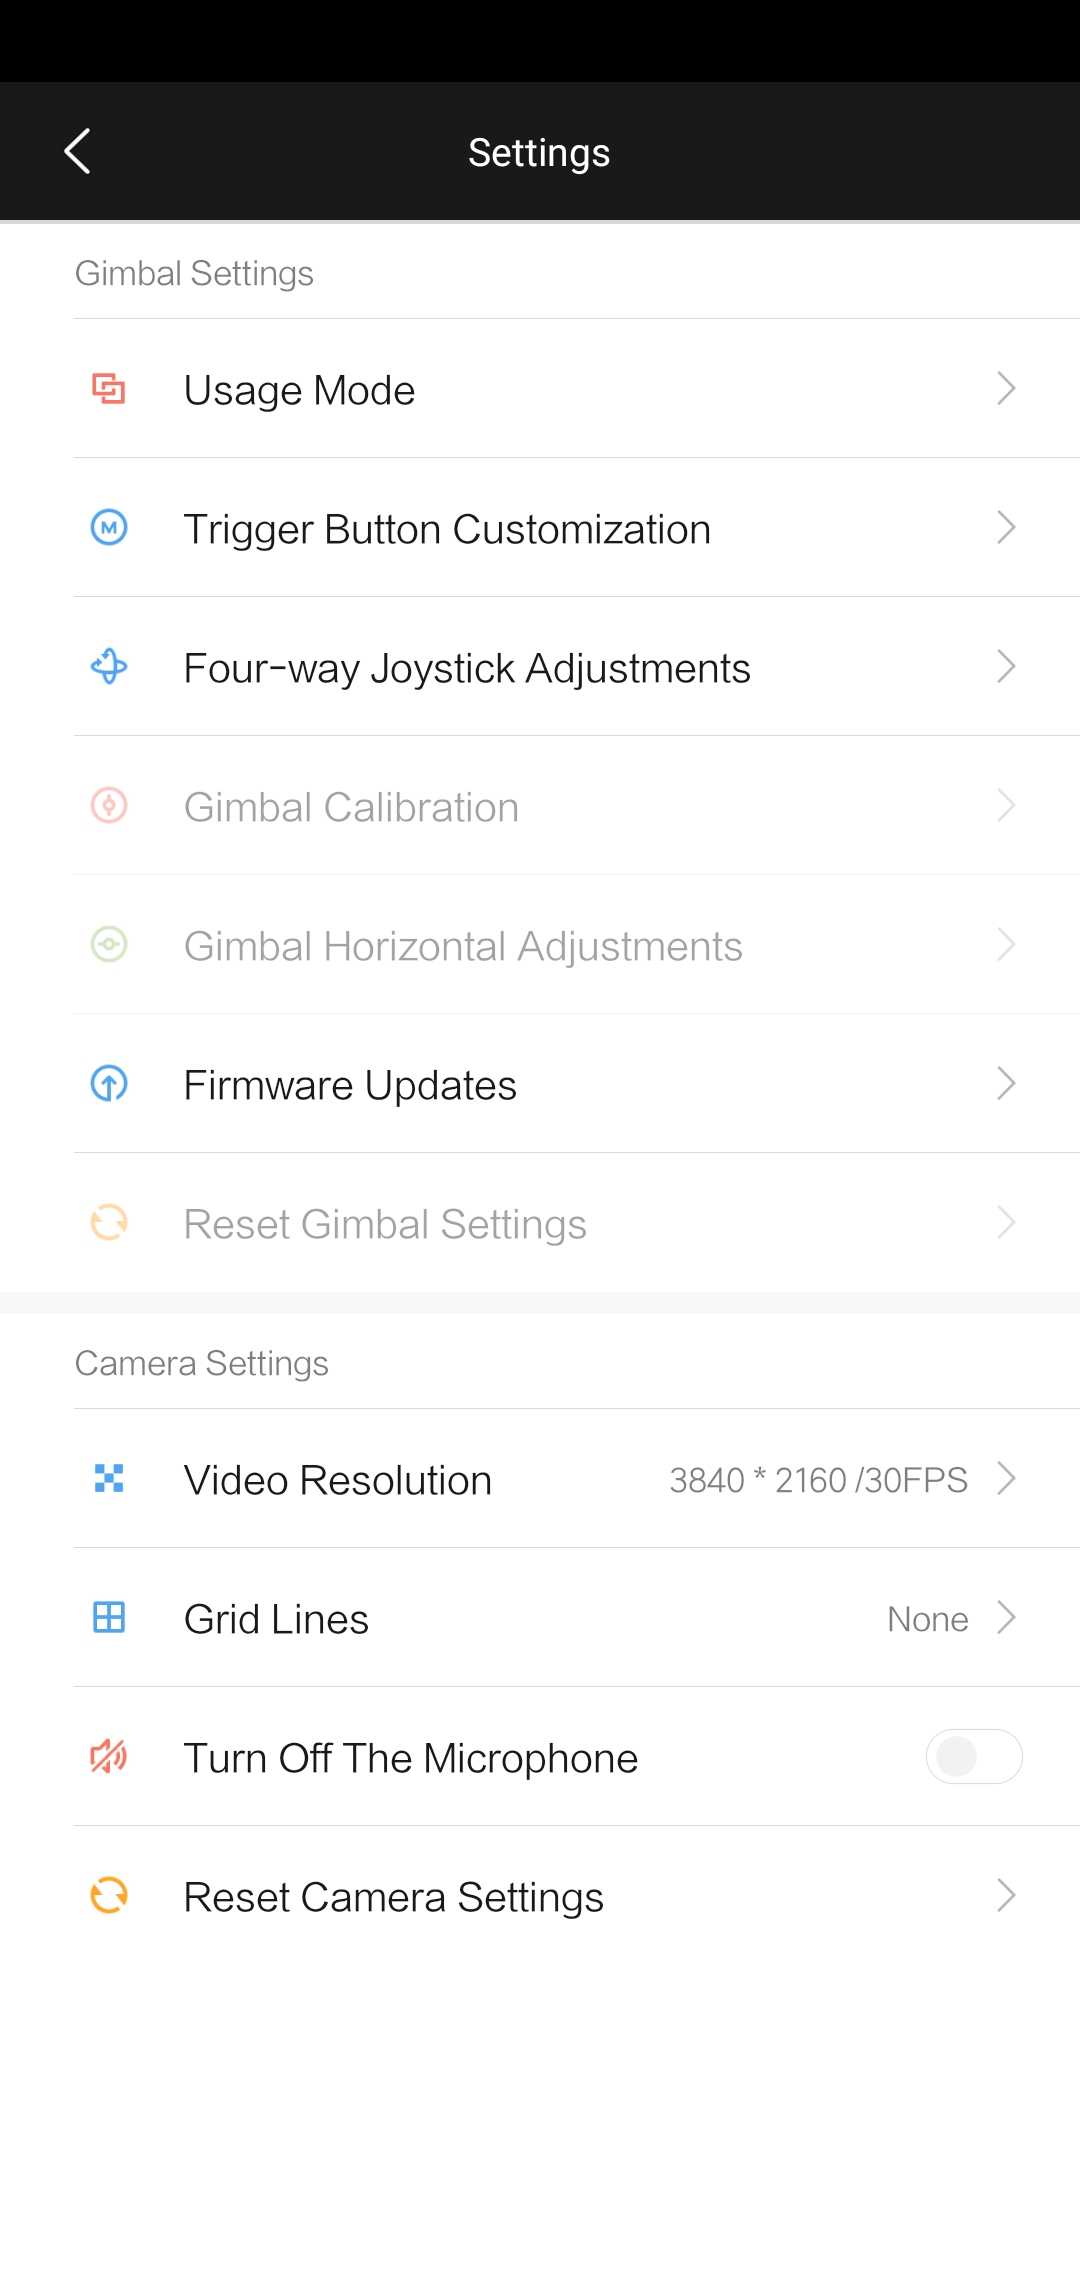
More detailed gimbal settings
In the Settings section, you can easily set up the gimbal to suit your requirements in just a few clicks. Let's go pretty gradually. After clicking on the first line, a menu will pop up for you, where you have a choice between three setting options.
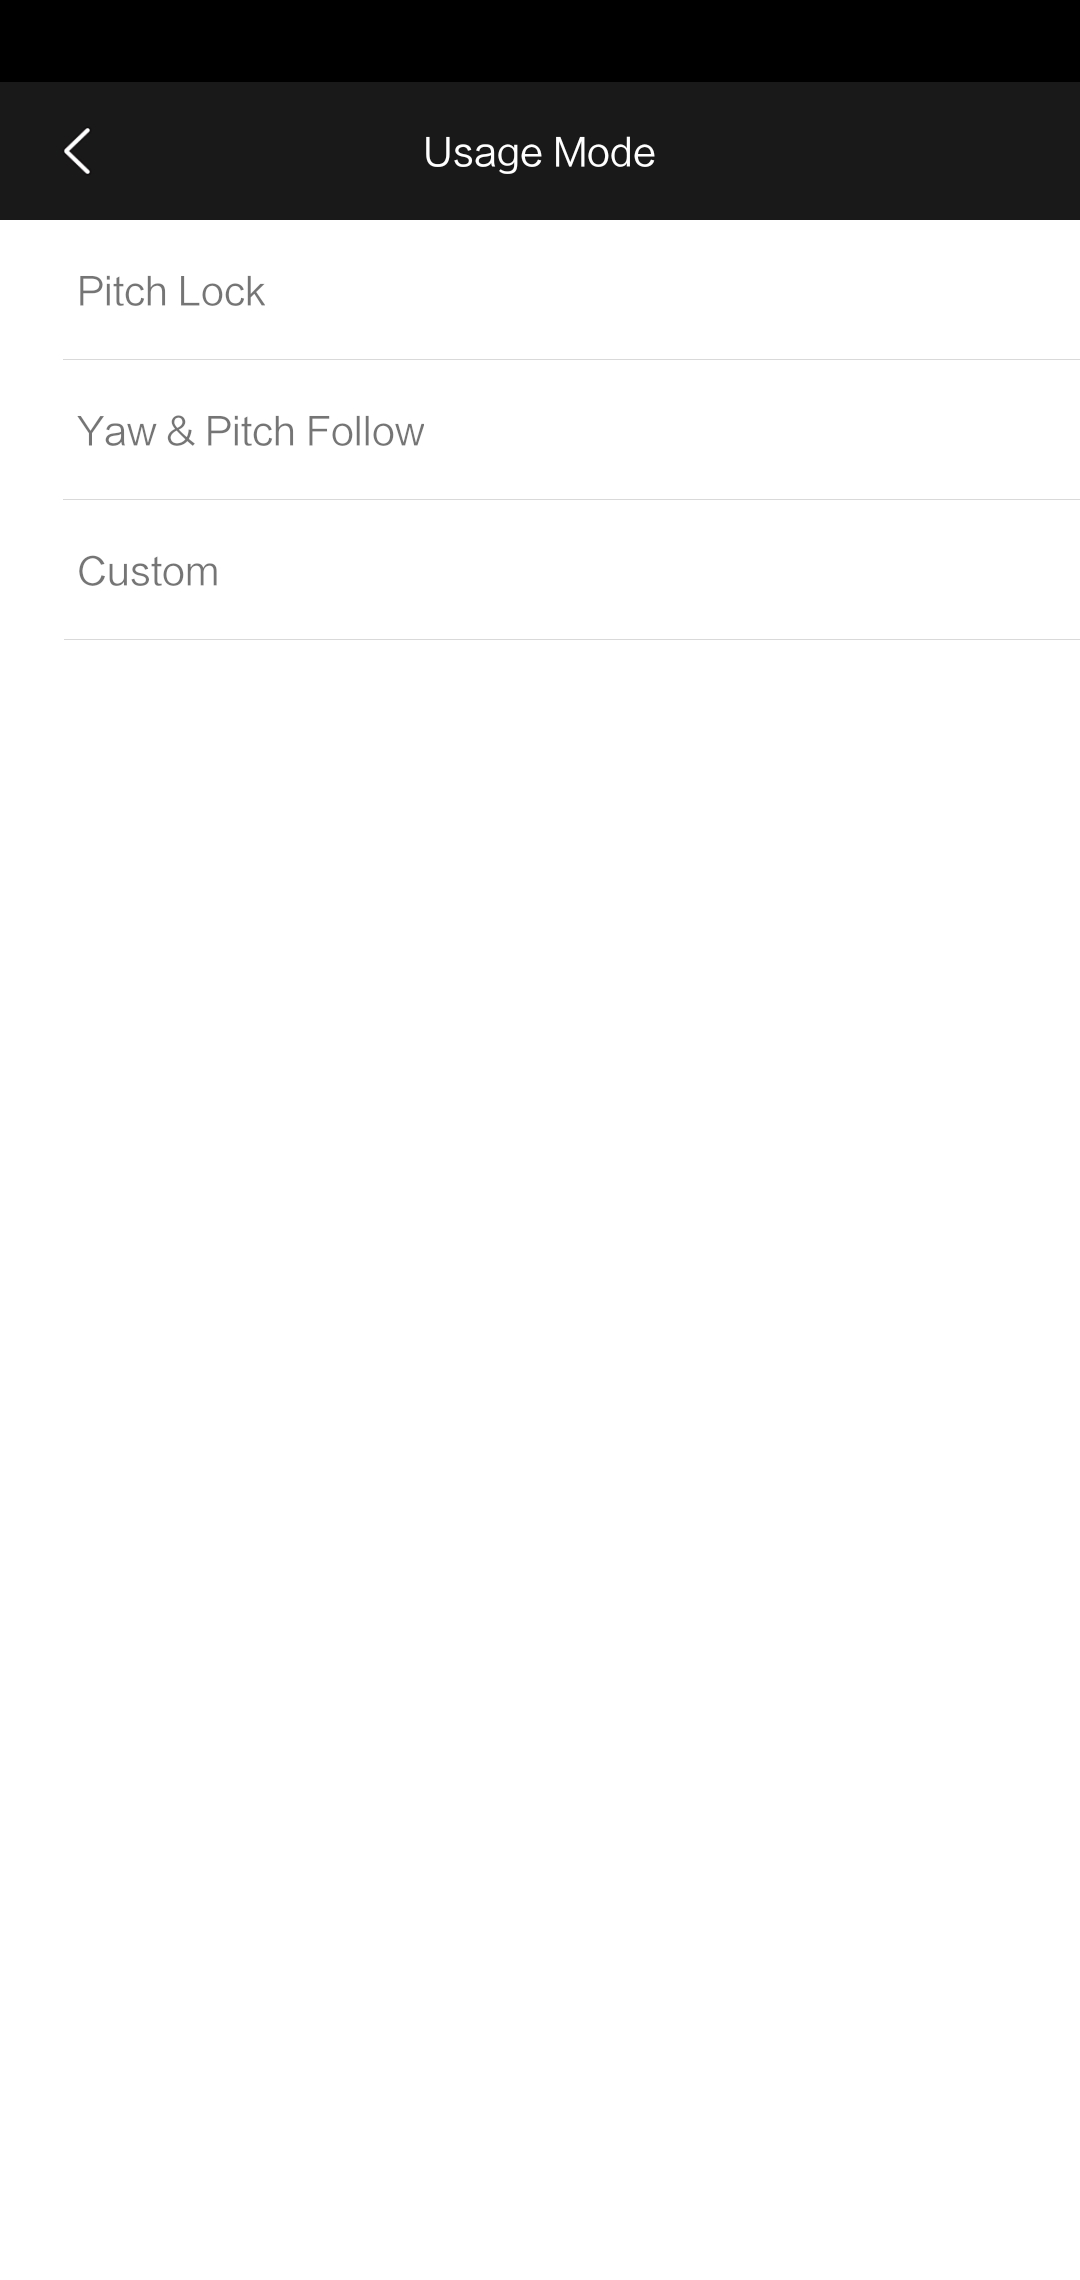
The first, "Pitch Lock“, Locks the gimbal position focused in one place. The second, "Yaw & Pitch Follow“, Is similar to the previous one, but with this option, the gimbal will lock all the bikes, and thus will accurately follow the starting position. Option "Custom“Has tracking speed settings in previous modes.
The second section in the settings includes "Trigger button“. In this section you can map various functions to it. The trigger button works in 3 different types. The first type is when you press the button once.
Then you can set whether you want the gimbal to take a photo, lock the position, start and stop recording the video, or start watching your movement, as we mentioned in the Pitch Follow function. When the button is pressed twice in a row, the gimbal is centered and placed in the home position.
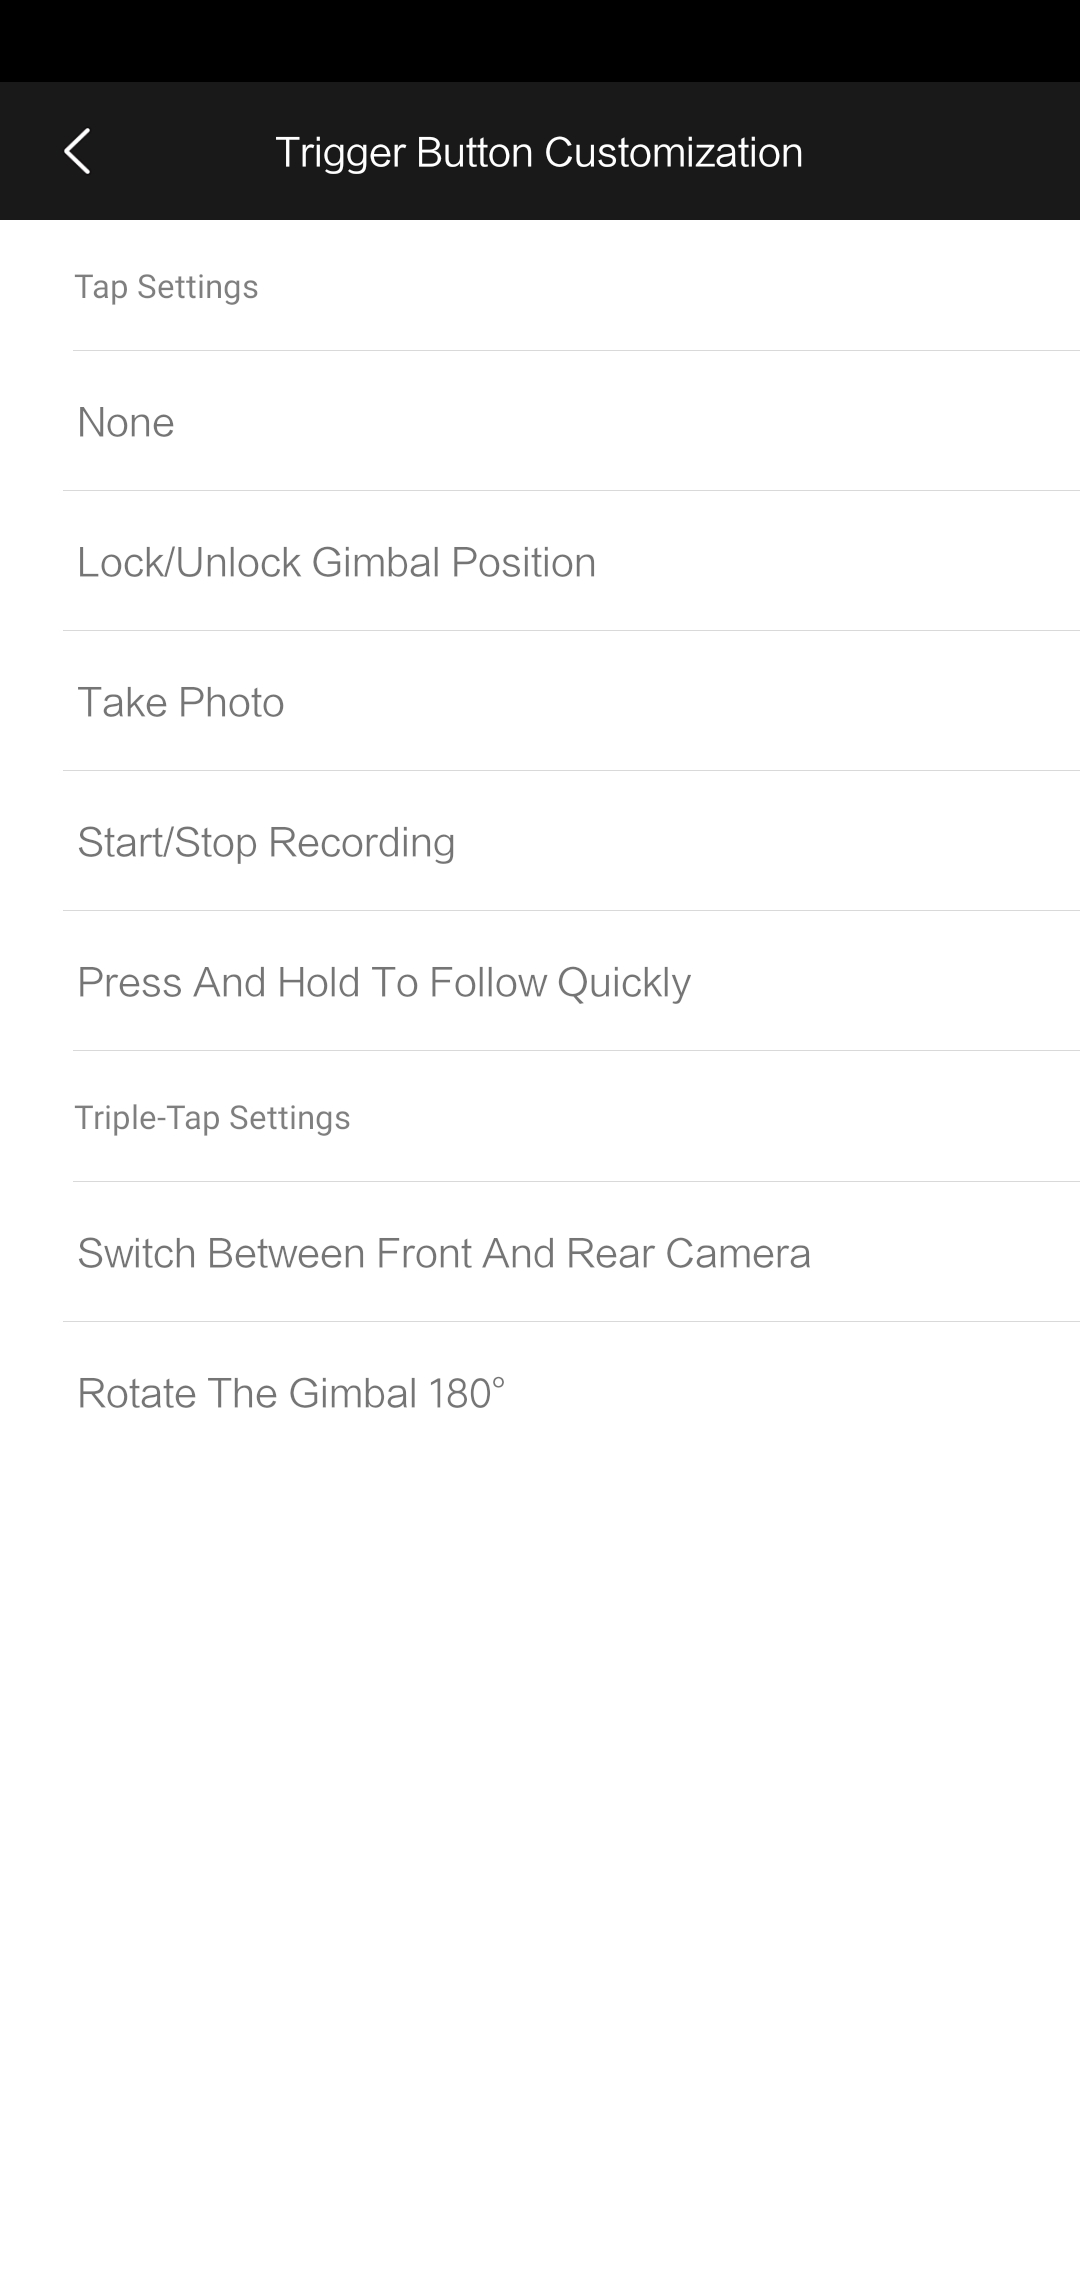
If you press the button three times, the gimbal will either rotate 180 ° or switch recording between the front and rear cameras. The disadvantage is that switching the camera does not work during recording. If you happen to want to say something in the video, I prefer to use the function of rotating the gimbal by 180 °.
After clicking on the third line, you can easily change it gimbal rotation speed. Rotation speed is given in degrees per second, ° / s. If you want to take slow movies, you can choose the lowest possible speed of 10 ° / s, or if you want fast and prompt response and speed, you can choose a speed of up to 100 ° / s.
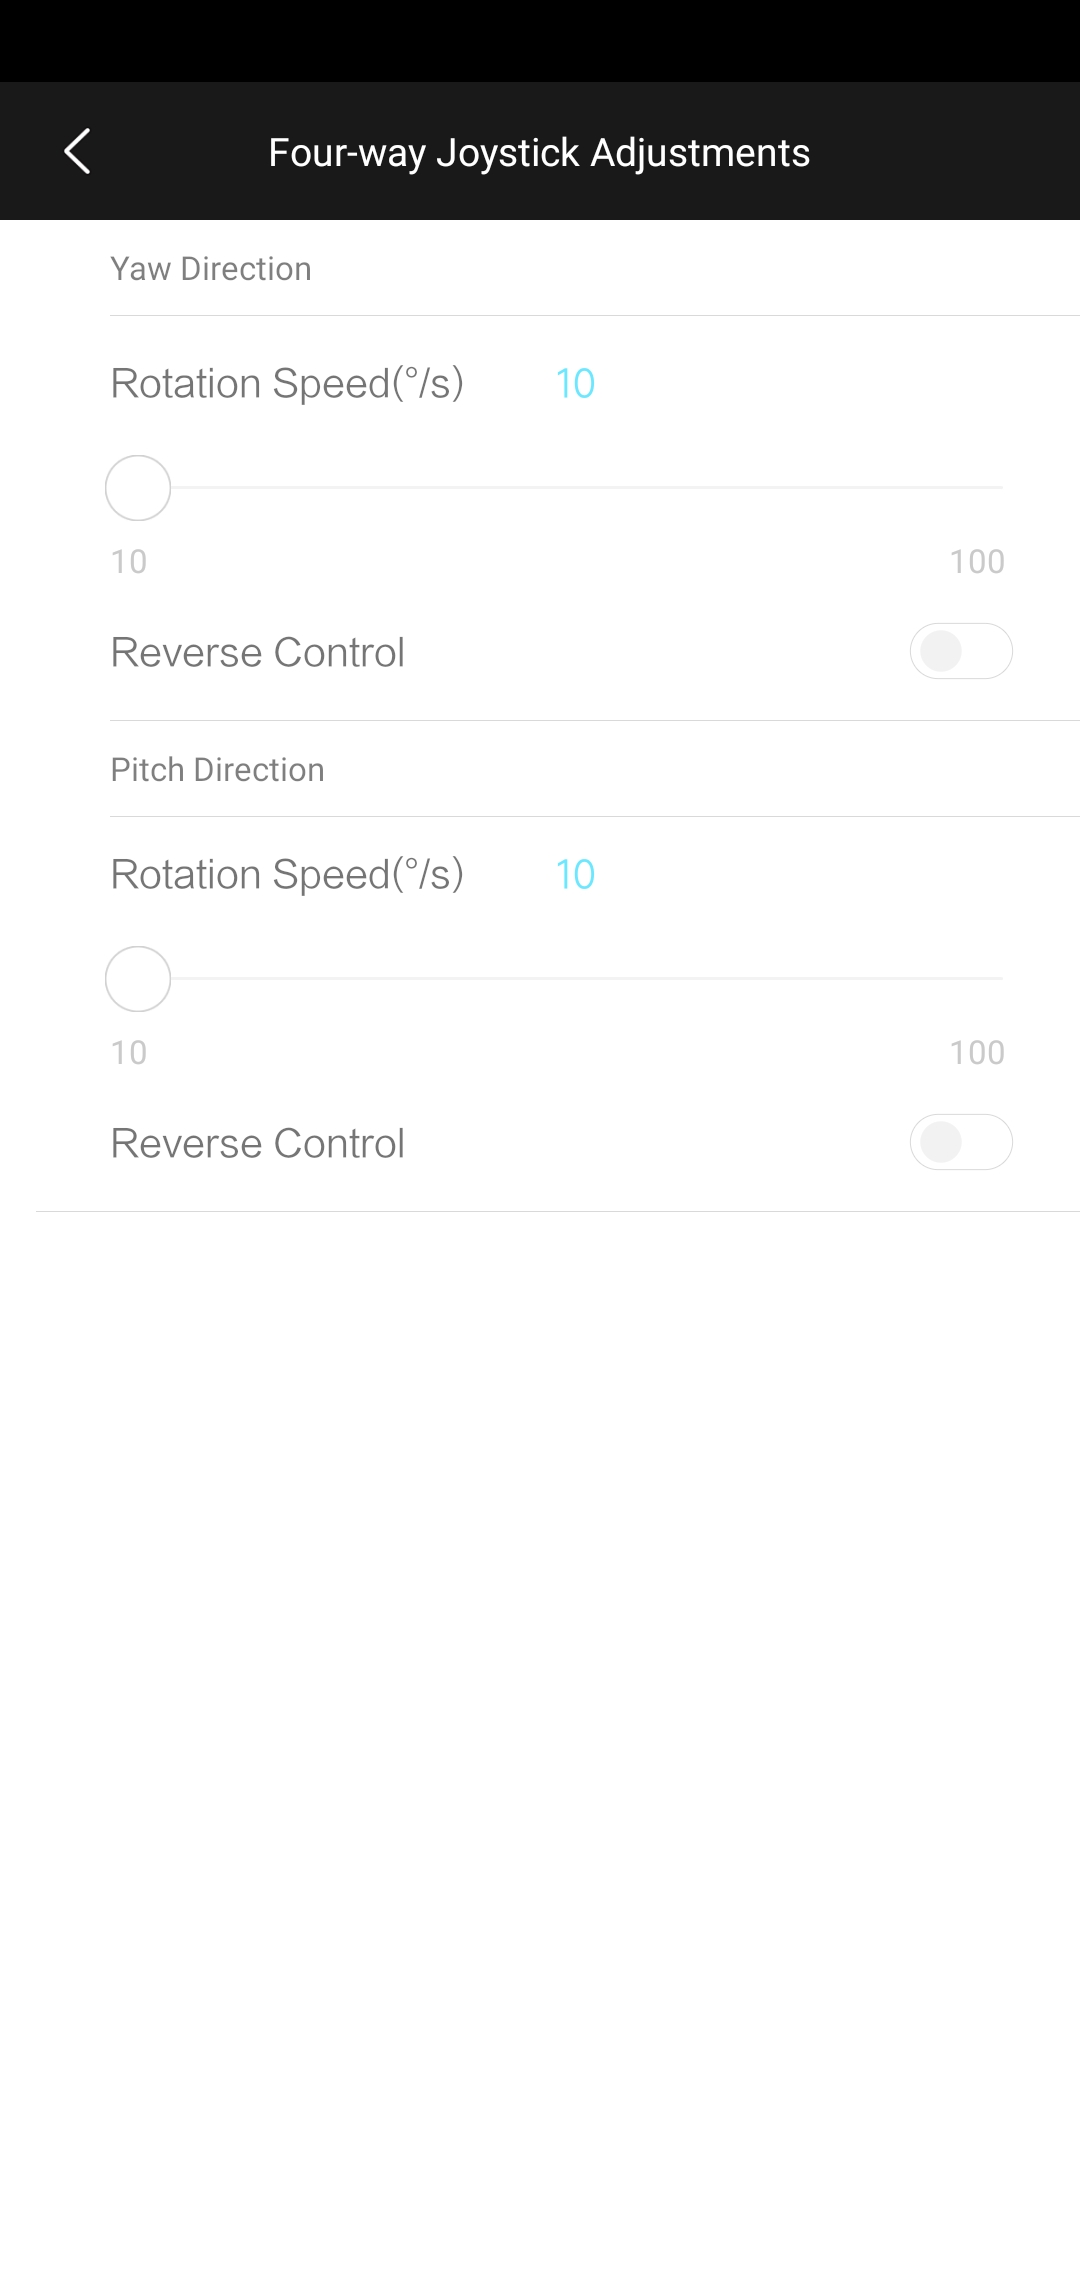
In addition to the possibility of changing the rotation speed using motors, you can use the function overturned control. This means that if you want to turn the phone to the lower position, you will have to move the joystick in the opposite direction, and therefore up. Personally, we were rather mistaken during filming, so we preferred to leave this feature off.
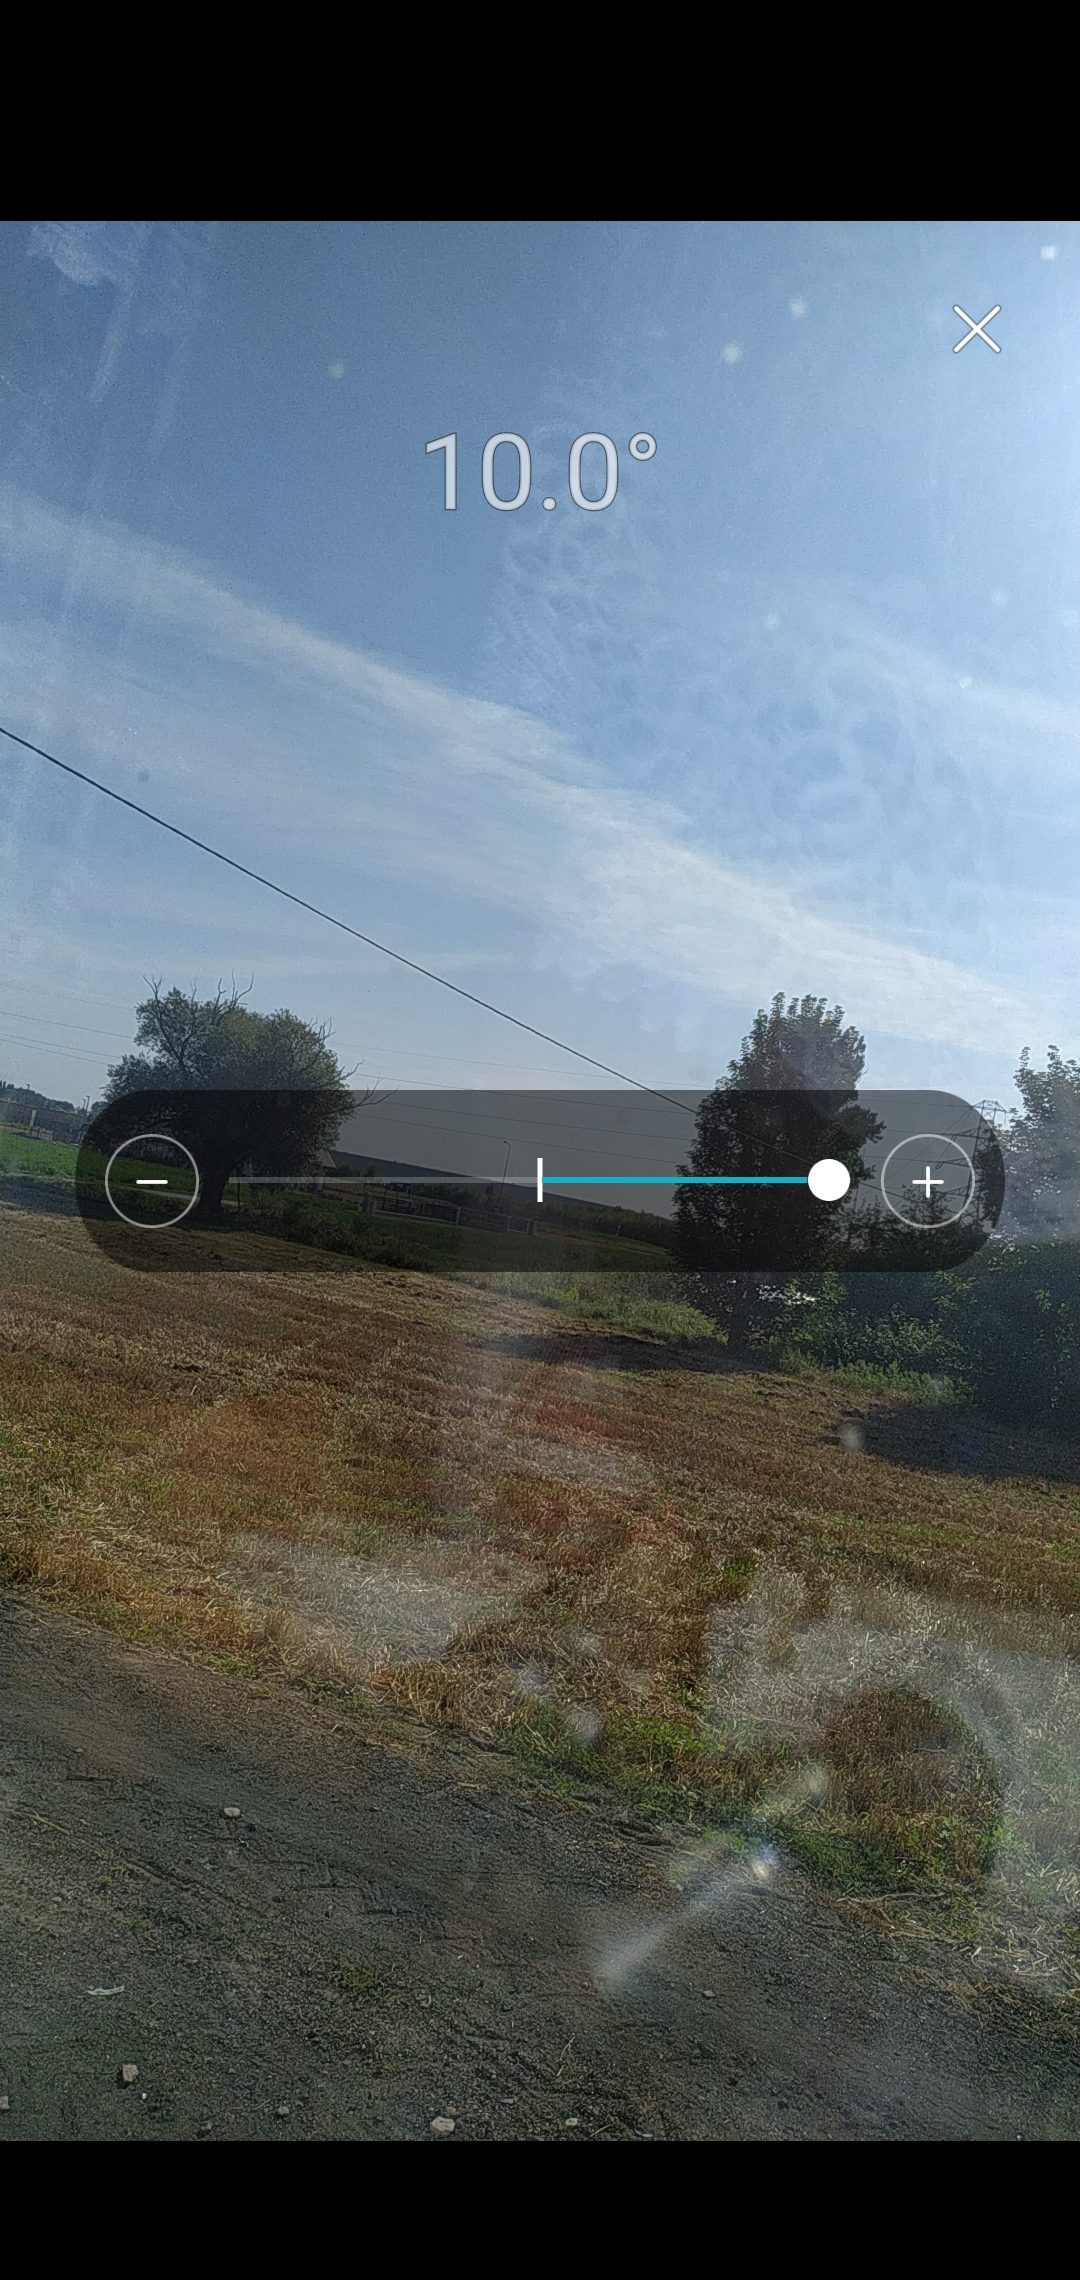
In the fourth setting, there is an option to set level of horizontal inclination. The maximum slope level is 10° for each party. We didn't use this opportunity, as we wanted a horizontal video and in case of different inclinations, the gimbal centered the whole scene for us.
Another item in the settings is gimbal calibration. After starting the calibration, the individual motors are gradually switched off and on, and thus calibrated. The whole process does Mijia gimbal alone. All you have to do is keep the gimbal stable without moving.
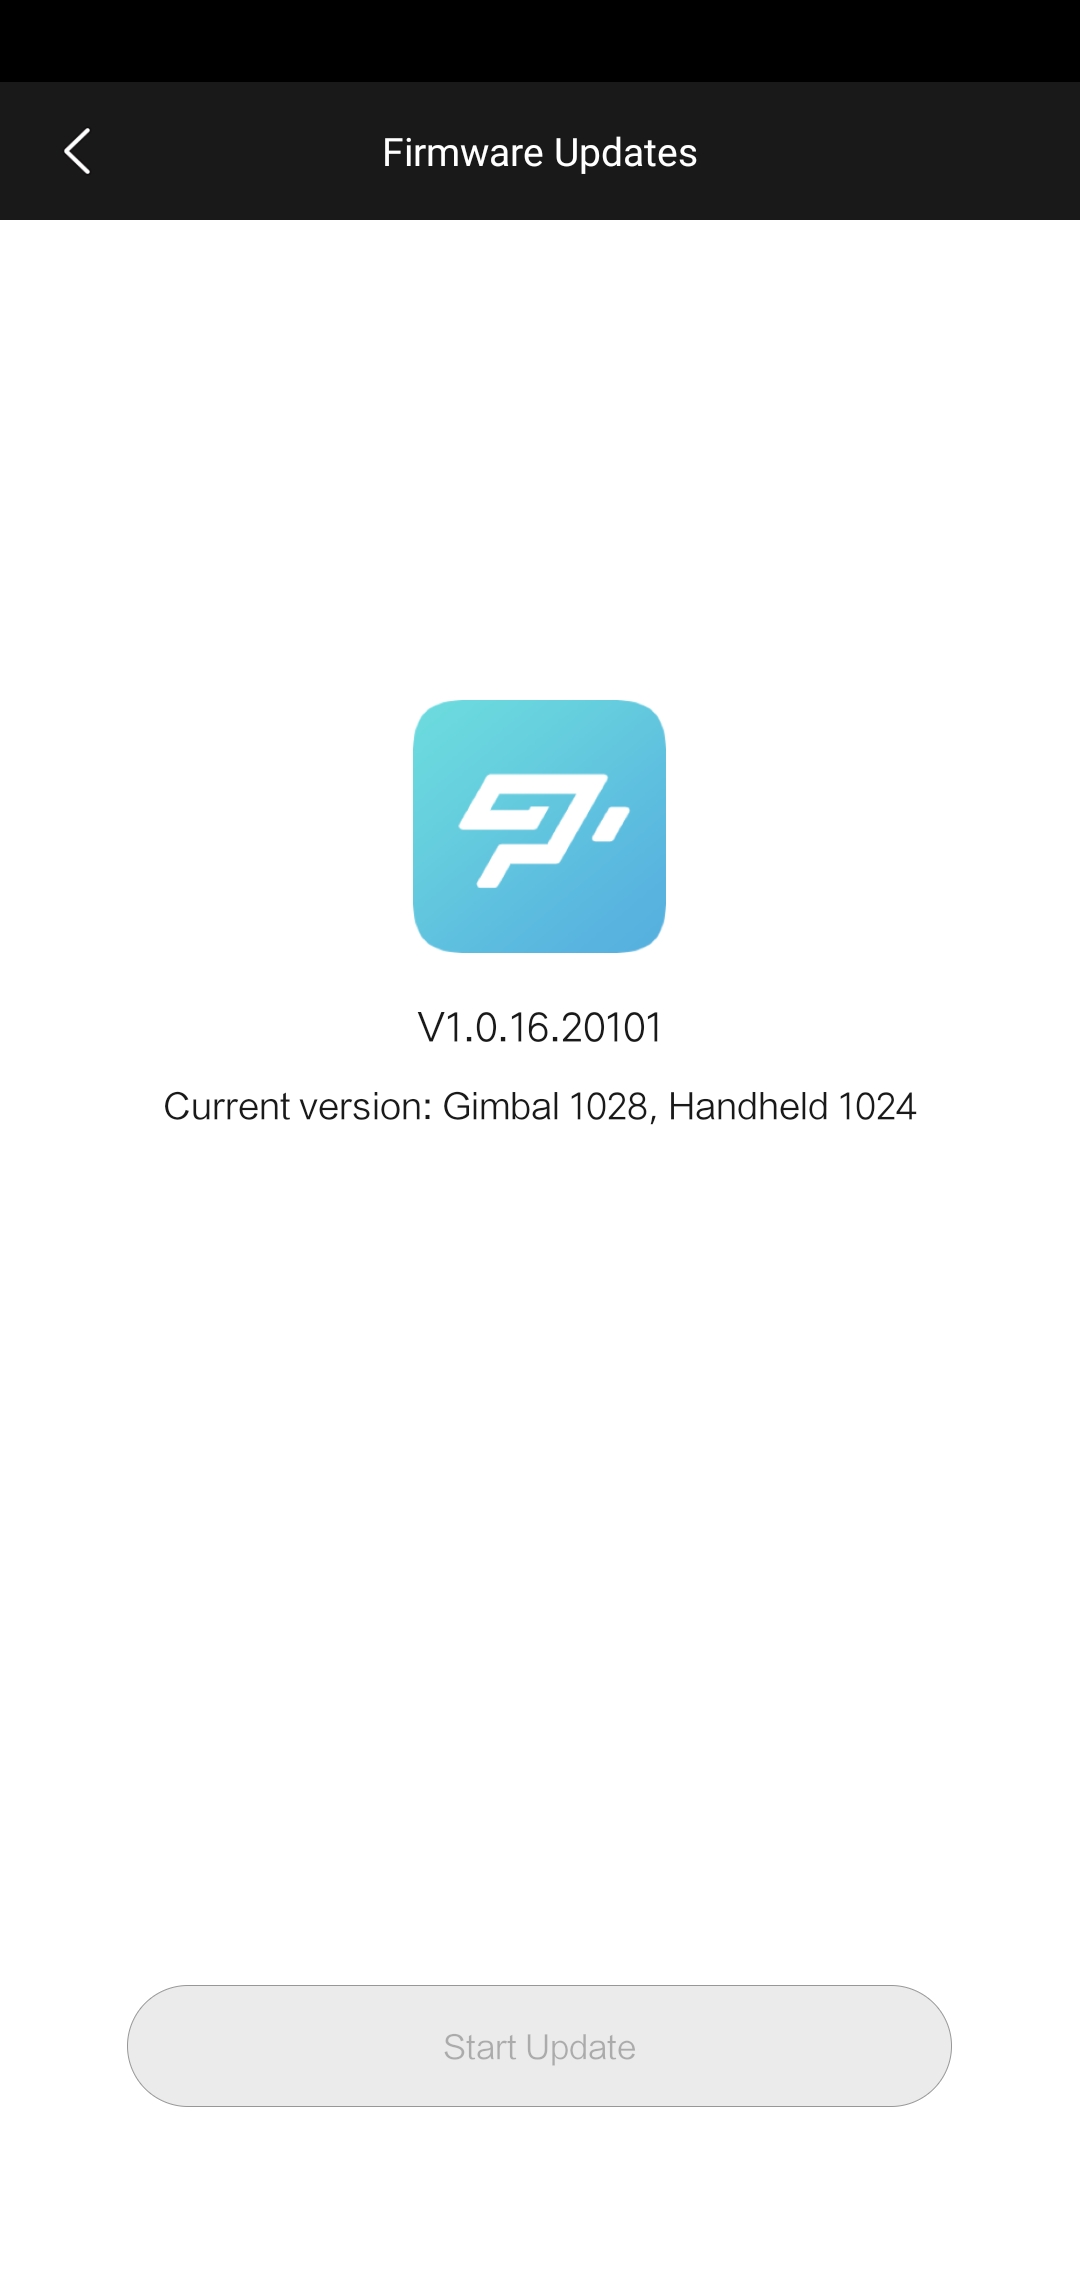
The penultimate line belongs to the firmware update. After the first run, it's a good idea to check several times in a row to see if a new version is available. The latest available version was at the time of testing V1.0.16.20101.
At the end of the first part, there is only the possibility to reset all gimbal settings to the factory state. Updates will be retained.
Video settings
So far, we have imagined the settings of the gimbal itself. Now, we come to the part where we talk about the middle ground.
In the first line you can set the resolution of the captured video. You can choose from 4K (3840 x 2160 pixels), Full HD (1920 x 1080 pixels) a HD (1280 x 720 pixels). We recommend choosing the highest resolution, in this case 4K, for the best results.

The second in order and at the same time a very useful function is the grid. The grid is very often used for the overall orientation in the composition, but especially for photography or shooting in the golden section.
Using the grid, you can easily divide the whole image into thirds to get the best effect. Classic 3 × 3 rectangles, rectangles with diagonal lines, diagonals, or a center rectangle are available.

The penultimate function within the video output settings is the option turn off audio recording. This feature is useful when you are in a noisy and disturbing environment and you do not want to have ambient sound in your video.
The last option is to reset all video-related settings.
This is a summary of all the possible settings that are in the application. The settings are great when you know how to use them properly. If you have any questions about setting up a gimbal, feel free to write in the comments and we will be happy to advise you if we know.
Shooting with it is real fun
We move from the settings to the user experience itself and the evaluation of the work of the gimbal.
To begin with, using gimbal is a lot of fun. Gimbal opens up new possibilities and perspectives that he could only dream of without him. Suddenly, the video takes on a new touch and the overall video experience is much stronger.

The image stabilization function works really well. In this price range to which Xiaomi Mijia Gimbal belongs, he is clearly the winner. The beautifully smooth and stable video that you can shoot with this gimbal is a few levels higher than without using any kind of stabilization.
Check out our comparison videos:
Lots of features provided by Xiaomi Mijia Gimbal has it, it is really useful and usable in the field. It should be mentioned, however, that sometimes the gimbal has trouble dealing with certain inclinations and angles, and the gimbal may make a jerky and unnatural movement.
This jerky movement can also be seen in our video demonstration, where at the end the gimbal slightly deviated to the right. However, this ailment occurs very rarely and in most cases, gimbal performs its role brilliantly.


Hello, I bought the mentioned gimbal through you. The link to the gimbal app does not work, also the link to the apk from the manufacturer's website is broken. Also, the qr code from the tutorial is broken. WHERE CAN I APPROVE THE APP? Well thank you
Hello, you can download here https://apkpure.com/mi-gimbal/com.fimi.app.gh2/download?from=details
I have a Huawei P30 and no matter how hard I try, I can see the football in the main photo. At wide angle, it's completely wrong. Nobody had that problem either?
when you try to log in to the application, it states that the internet is not available. This is probably the first disappointment with a product from Xiaomi. 🙁
Hello, try this via mobile data, if you tried via WiFi or vice versa. Alternatively via another WiFi network.
Hello, I'm trying every option and I can't log in to the app, is it possible to use another app as well?
install versión 1.0.13 и будет заходить